 Save
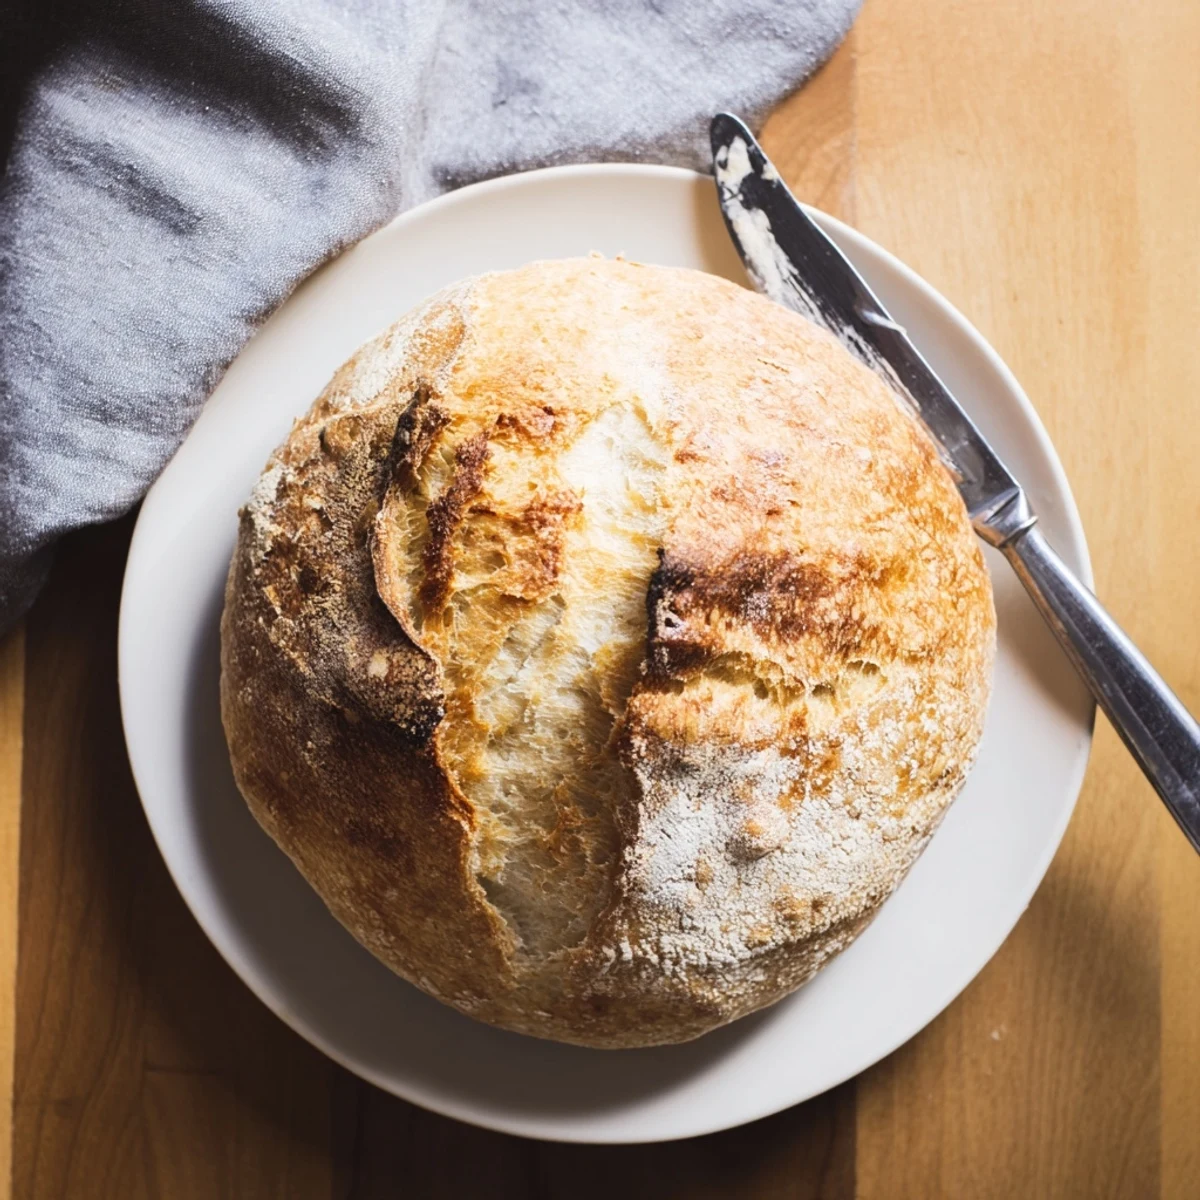
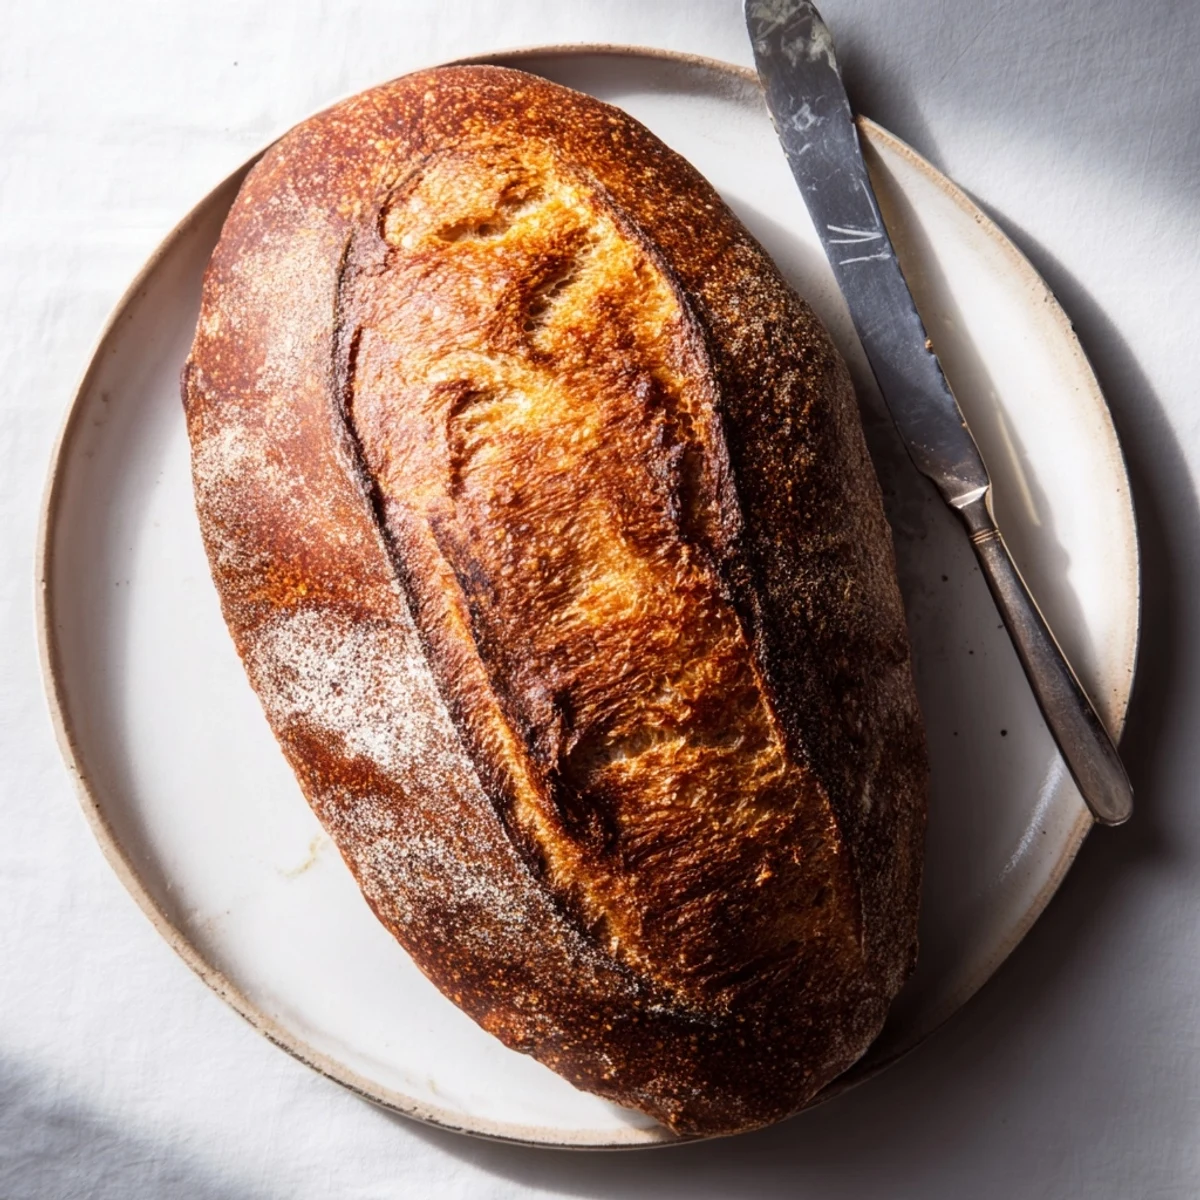
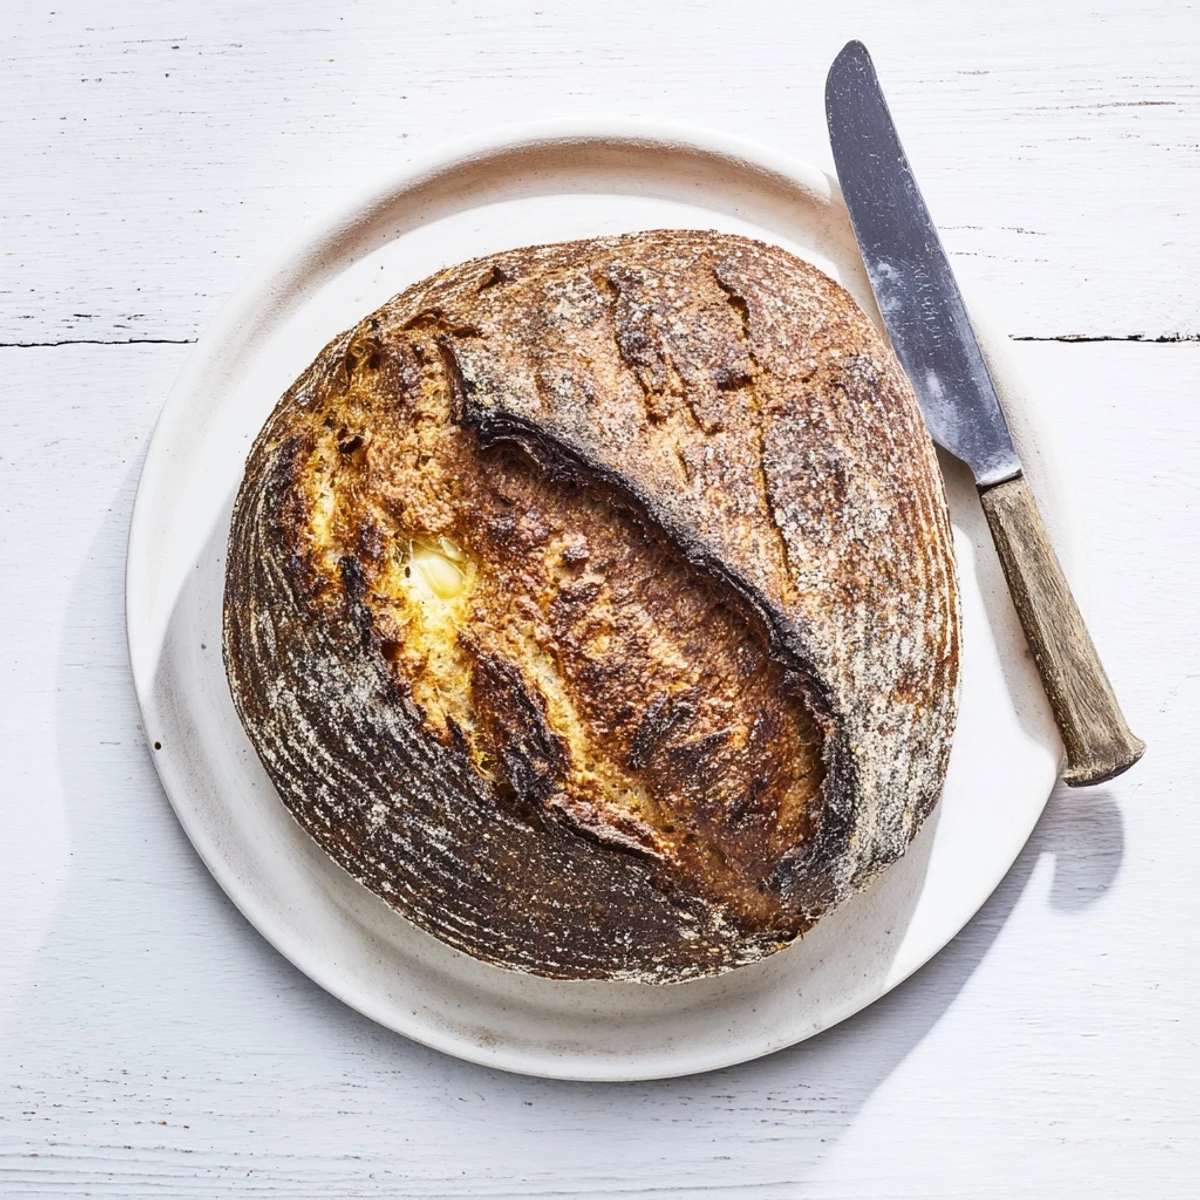
Save Create bakery-quality rustic bread at home with minimal effort and ingredients. This European-style loaf develops a thick, golden crust and tender, airy interior through a simple no-knead method that lets time do the work.
The process combines flour, salt, yeast, and water into a shaggy dough that rises for 1-2 hours, developing flavor and structure naturally. After a brief rest period, the dough bakes in a hot Dutch oven, creating steam that ensures an irresistibly crackly crust.
Perfect alongside soups, slathered with butter, or dipped in olive oil, this versatile loaf yields 8-10 generous slices. The straightforward technique welcomes bakers of all skill levels to achieve professional results with basic kitchen tools.
The first time I made this bread, my apartment smelled so incredible that my neighbor knocked on my door thinking I had hidden a bakery in my kitchen. There is something magical about four simple ingredients transforming into something that feels like a labor of love.
I made three loaves in one week during a particularly snowy winter, experimenting with different rising times and flour ratios. My family started requesting specific crust thicknesses, and suddenly I was the designated bread person for every gathering.
Ingredients
- Bread flour: The higher protein content creates that satisfying chewy texture we all love
- Instant yeast: No need to proof it first, just mix it right in with the dry ingredients
- Lukewarm water: Think bathwater temperature, around 105°F, to activate the yeast without killing it
- Salt: Do not be tempted to reduce this, it is what balances the flavors and controls fermentation
Instructions
- Mix the dough:
- Combine flour, salt, and yeast in a large bowl, then add water and stir until everything comes together into a rough, shaggy mass
- Let it rise:
- Cover your bowl and walk away for at least an hour, until the dough has puffed up beautifully and bubbles appear on the surface
- Shape the loaf:
- Turn the dough onto a floured surface, fold the edges toward the center to create tension, and place it seam side down on parchment paper
- Get the oven ready:
- Preheat to 450°F and put your Dutch oven inside so it becomes screaming hot, which creates that perfect oven spring
- Bake with steam:
- Carefully lower the dough into the hot pot, cover with the lid, and bake for 25 minutes before removing the lid for the final 15 minutes of crisping
- Cool completely:
- Resist the urge to slice into it while it is still hot, or the steam will escape and you will lose that moist interior
 Save
Save My sister once drove forty minutes just to pick up a fresh loaf the day I finally mastered the scoring technique. Now every time I smell that distinctive yeasty aroma, I remember standing by the oven watching the crust turn that perfect deep golden color.
Getting The Rise Right
I have learned that the rising time depends entirely on your kitchen temperature. In winter, I let my dough rise near a warm oven or in a sunny spot, while summer days speed everything up considerably.
Shaping Secrets
The folding technique creates surface tension, which helps the loaf hold its shape during baking. Do not worry if your loaf looks rustic or imperfect, those homemade characteristics are part of the charm.
Storage Solutions
This bread actually improves after sitting for a few hours, as the crust continues to crisp and the flavors settle. Store it cut side down on a cutting board, wrapped in a clean kitchen towel.
- Freeze slices for easy toast in the morning
- Revive a day old loaf by sprinkling with water and reheating at 350°F for 10 minutes
- Never store in plastic bags or the crust will become soft and chewy
 Save
Save There is something deeply satisfying about pulling a homemade loaf from the oven, hearing that crackle as the crust cools, and knowing you created something this wonderful with your own hands.
Common Questions
- → What makes this bread rustic?
-
The rustic character comes from the thick, crackly crust and open, chewy crumb structure. Baking in a preheated Dutch oven creates steam that mimics professional deck ovens, developing that signature artisanal appearance and texture.
- → Can I make this without a Dutch oven?
-
Yes, you can use a heavy baking sheet or pizza stone. Place a metal baking pan on the bottom rack of the oven and add ice cubes when you put the bread in to create steam. This helps achieve a crispier crust.
- → How do I know when the bread is done baking?
-
The bread is ready when the crust is deep golden brown and the loaf sounds hollow when tapped on the bottom. This typically takes 40 minutes total—25 minutes covered and 15 minutes uncovered.
- → Why does the dough need to rise for so long?
-
The long rising time allows yeast to ferment and develop flavor while creating gas bubbles that give the bread its airy texture. This slow fermentation is what creates that distinctive chewy interior and complex taste.
- → Can I add mix-ins like herbs or cheese?
-
Absolutely. You can fold in 1-2 tablespoons of fresh herbs like rosemary, thyme, or dried Italian seasoning after mixing the dough. shredded cheese, garlic, or roasted vegetables also work wonderfully for variations.
- → How should I store the bread?
-
Store at room temperature in a paper bag or wrapped in a clean kitchen towel for up to 2 days. For longer storage, slice and freeze in an airtight bag—toast individual slices straight from the freezer.