 Save
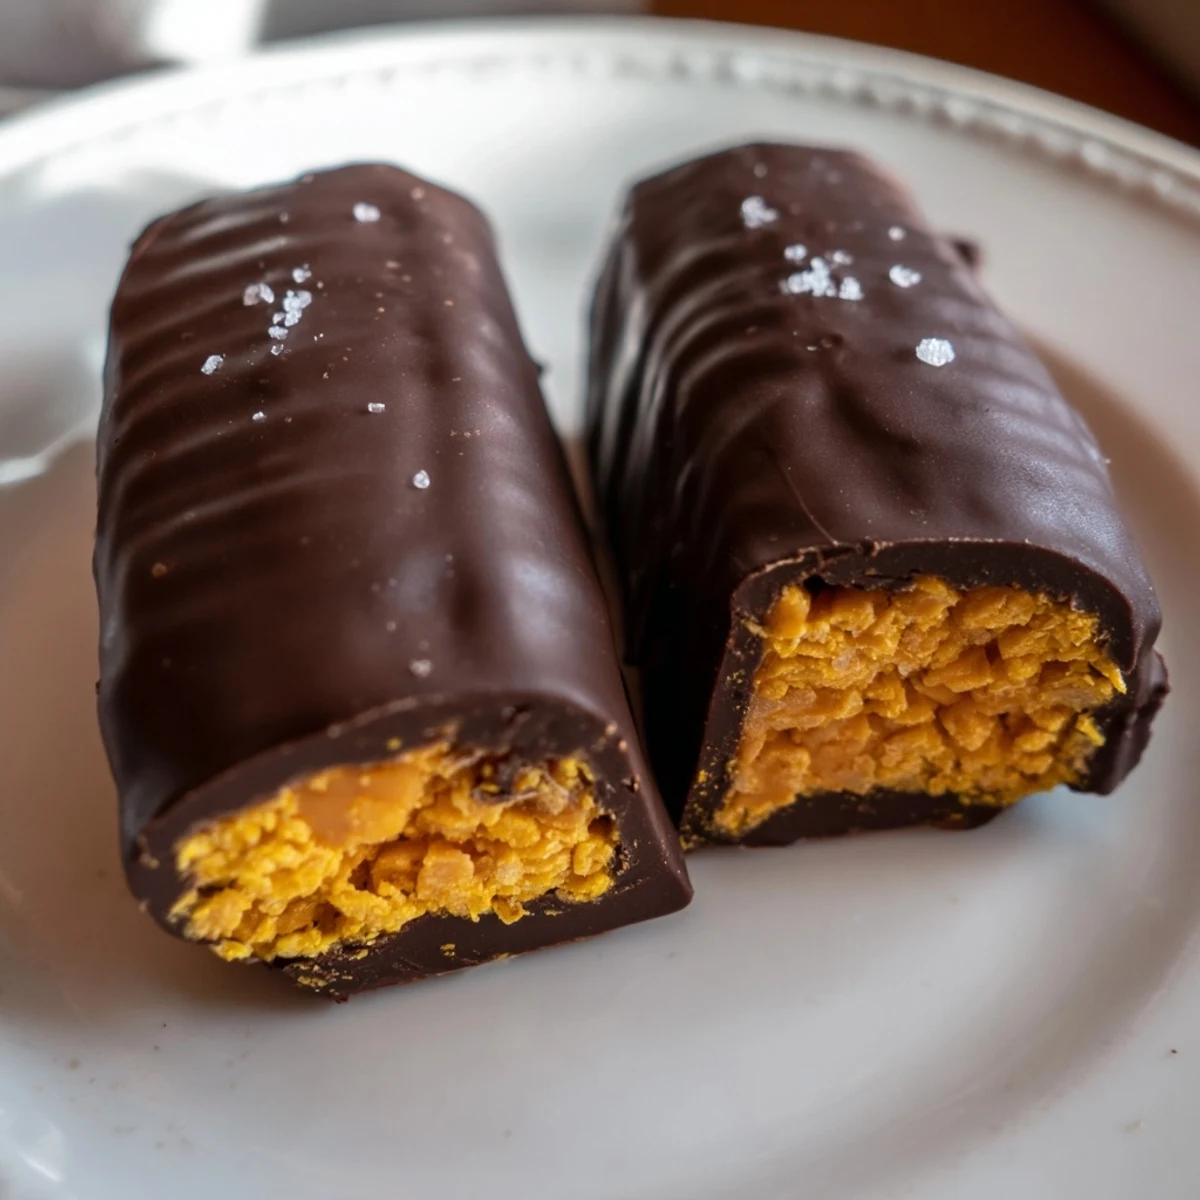
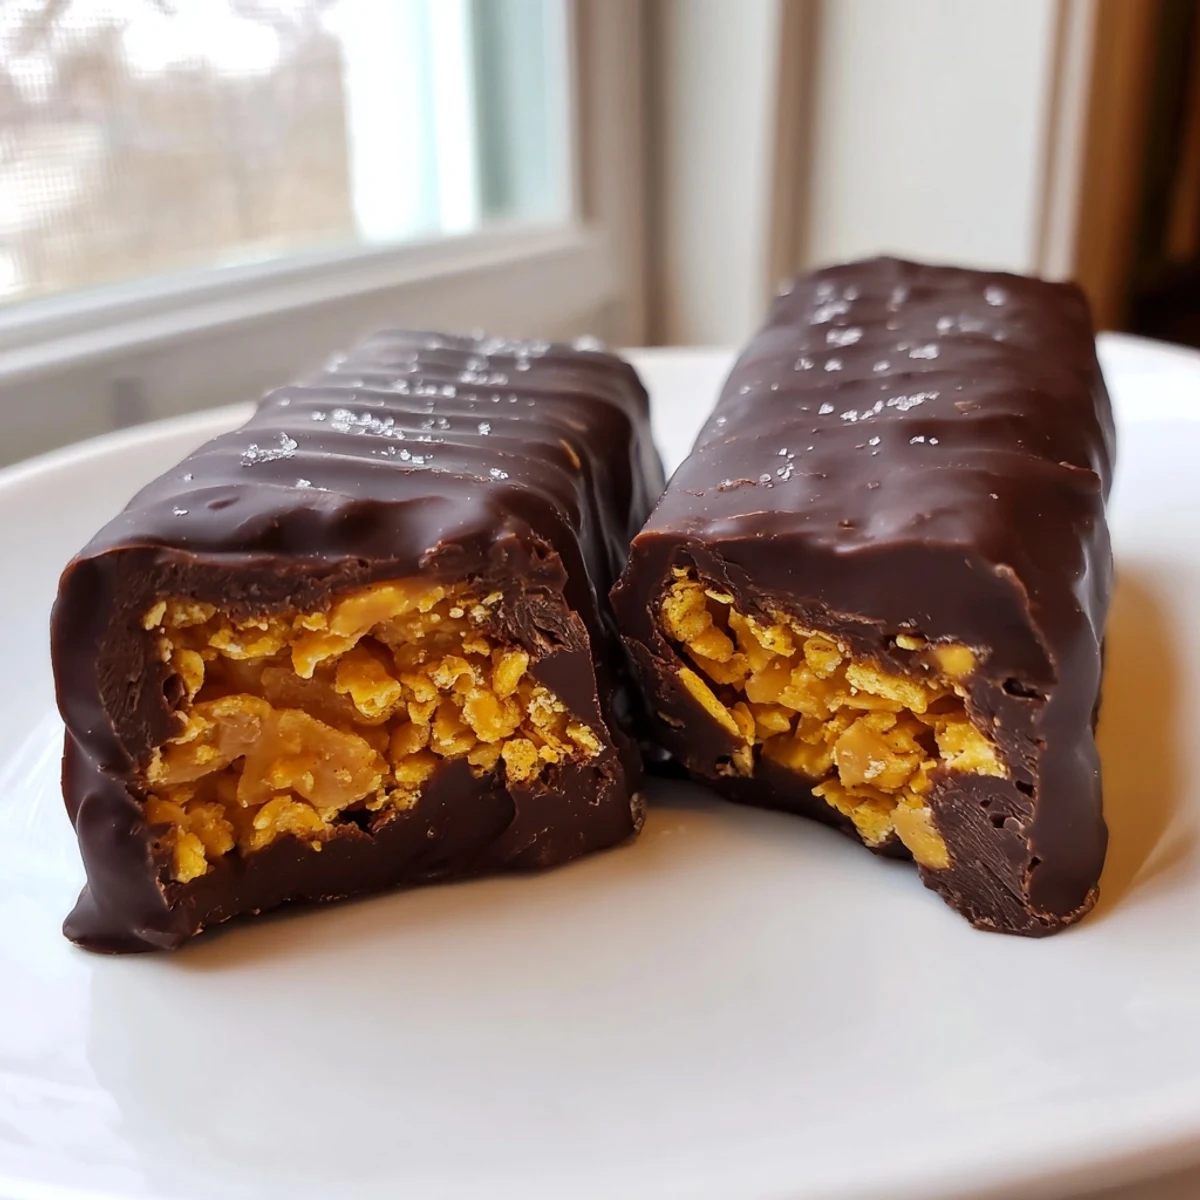
Save These wholesome homemade Butterfingers deliver all the crunchy, chocolatey satisfaction of the classic candy bar with better-for-you ingredients. A simple mixture of natural peanut butter, maple syrup, and crushed corn flakes forms the crispy center, while a dark chocolate coating adds rich indulgence.
Ready in about an hour with minimal prep and no baking required, these bars are vegetarian, naturally gluten-free, and easy to customize with almond or sunflower seed butter. Keep them chilled in the fridge for a week of sweet-tooth satisfaction.
There is something almost defiant about making your own candy bars on a random Tuesday afternoon, and that is exactly why you should do it. The whole process takes less than an hour, and the result is a crunchy, chocolate-draped bite that rivals anything wrapped in plastic at the checkout aisle. My kitchen smelled like a confectionery shop for the rest of the day, and honestly, I was not mad about it.
I made a batch of these for a movie night with friends, fully expecting them to last the whole weekend. They vanished before the opening credits finished rolling, and my friend Elena texted me the next morning asking if I was hiding any more in my fridge.
Ingredients
- Natural creamy peanut butter (1 cup): Use the kind with just peanuts and salt on the label, nothing else, because added oils change the texture completely.
- Pure maple syrup or honey (1/2 cup): Maple syrup keeps this vegan friendly, and its subtle sweetness lets the peanut flavor shine through.
- Corn flakes, lightly crushed (2 cups): Do not crush them into dust, you want rough shards that mimic that signature flaky snap.
- Dark chocolate chips, at least 70% cacao (1 1/2 cups): The higher percentage balances the sweetness of the peanut butter layer beautifully.
- Coconut oil (1 tablespoon): This tiny addition thins the chocolate just enough for a smooth, professional looking coating.
Instructions
- Prepare your pan:
- Line an 8x8 inch baking dish with parchment paper, leaving some overhang on the sides so you can lift the whole block out later without wrestling it.
- Melt the base together:
- In a saucepan over low heat, stir the peanut butter and maple syrup constantly until they melt into one glossy, unified mixture, which takes about two to three minutes.
- Fold in the crunch:
- Take the pan off the heat immediately and gently fold in the crushed corn flakes with a spatula, coating every flake evenly without crushing them further.
- Press and freeze:
- Transfer the mixture into your lined dish and press it down firmly with your hands or the back of a spoon, then freeze for twenty to thirty minutes until it holds its shape.
- Melt the chocolate:
- Set a heatproof bowl over a pan of barely simmering water and stir the chocolate chips with the coconut oil until the mixture turns silky and lump free.
- Cut and dip:
- Lift the frozen peanut butter block from the dish and cut it into twelve bars, then dip each one into the chocolate using a fork, tapping off the excess before placing them on parchment.
- Chill until set:
- Refrigerate the coated bars for at least twenty minutes until the chocolate shell is firm to the touch and snaps slightly when you press it.
 Save
Save I keep a stash of these in my freezer at all times now, tucked behind the frozen vegetables where nobody else looks. They have saved me from many a late night convenience store run.
Swaps and Dietary Tweaks
Almond butter or sunflower seed butter work beautifully if peanuts are off the table, though sunflower seed butter can turn slightly green as it cools, which is harmless but startling the first time you see it. For a fully vegan version, stick with maple syrup and double check that your chocolate is dairy free.
Storage That Actually Works
These bars live happily in an airtight container in the refrigerator for up to a week, but the freezer is their true home. They taste incredible eaten cold straight from the freezer, and the chocolate coating stays snappy rather than soft.
A Few Last Thoughts Before You Start
A pinch of flaky sea salt on top of each bar right after dipping takes them from great to absolutely unforgettable. Do not skip the coconut oil in the chocolate, because it is the difference between a coating that cracks neatly and one that chips off in chunks.
- Lightly crush the corn flakes in a zip top bag with a rolling pin for the most even texture.
- Tap the fork against the bowl edge after dipping each bar to get a thin, even chocolate layer.
- Always check your corn flake label for gluten free certification if that matters to you.
 Save
Save Once you realize how simple it is to make your own candy bars, the grocery store aisle loses its grip on you. These crunchy little squares are proof that the best treats come from your own kitchen.
Common Questions
- → Can I make these Butterfingers vegan?
-
Yes, simply use maple syrup instead of honey and choose a dairy-free dark chocolate with at least 70% cacao. Most natural peanut butters are already vegan-friendly.
- → Why are my corn flakes getting too crushed when mixing?
-
Fold the corn flakes in gently using a spatula rather than stirring vigorously. Lightly crushing them beforehand gives you more control over the texture—aim for small pieces, not fine crumbs.
- → How should I store leftover bars?
-
Store the bars in an airtight container in the refrigerator for up to one week. For longer storage, freeze them for up to three months. Let frozen bars thaw in the fridge before enjoying.
- → What can I substitute for peanut butter?
-
Almond butter, sunflower seed butter, or cashew butter all work well as peanut-free alternatives. Choose a creamy, natural variety without added sugars for the best texture and flavor.
- → Why did my chocolate coating crack or seize?
-
Make sure no water gets into the chocolate while melting, as even a drop can cause seizing. Use the double boiler method on low heat and stir gently. Adding coconut oil helps create a smooth, shiny coating that sets evenly.
- → Can I use milk chocolate instead of dark chocolate?
-
Absolutely. Milk chocolate will yield a sweeter, creamier coating closer to the traditional Butterfinger taste. Just note it won't be as rich, and you may want to reduce the maple syrup slightly to balance sweetness.