 Save
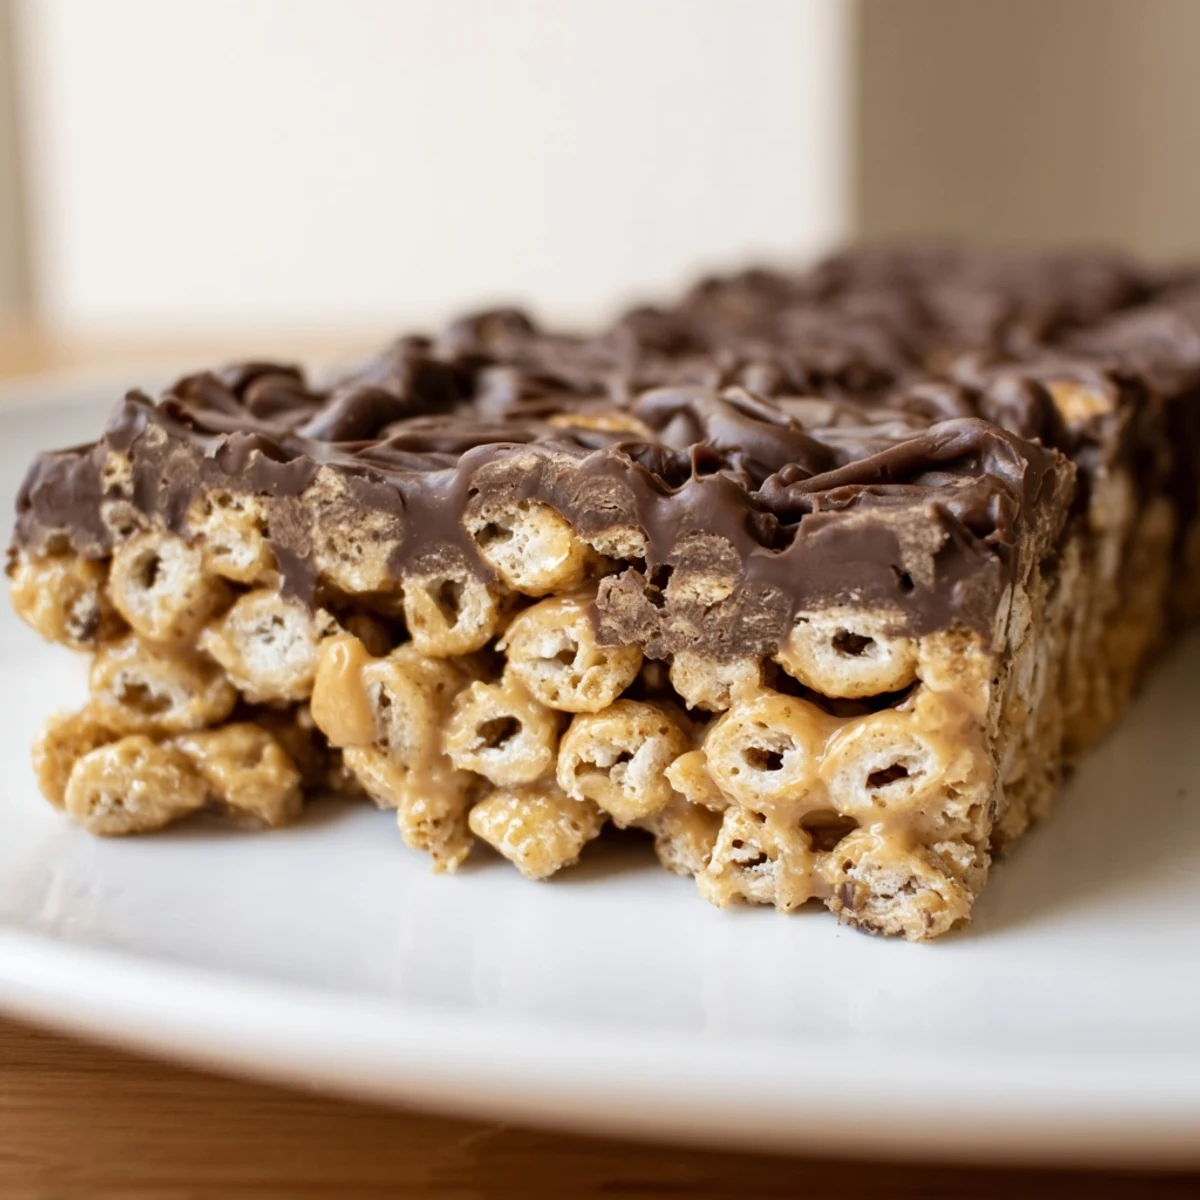
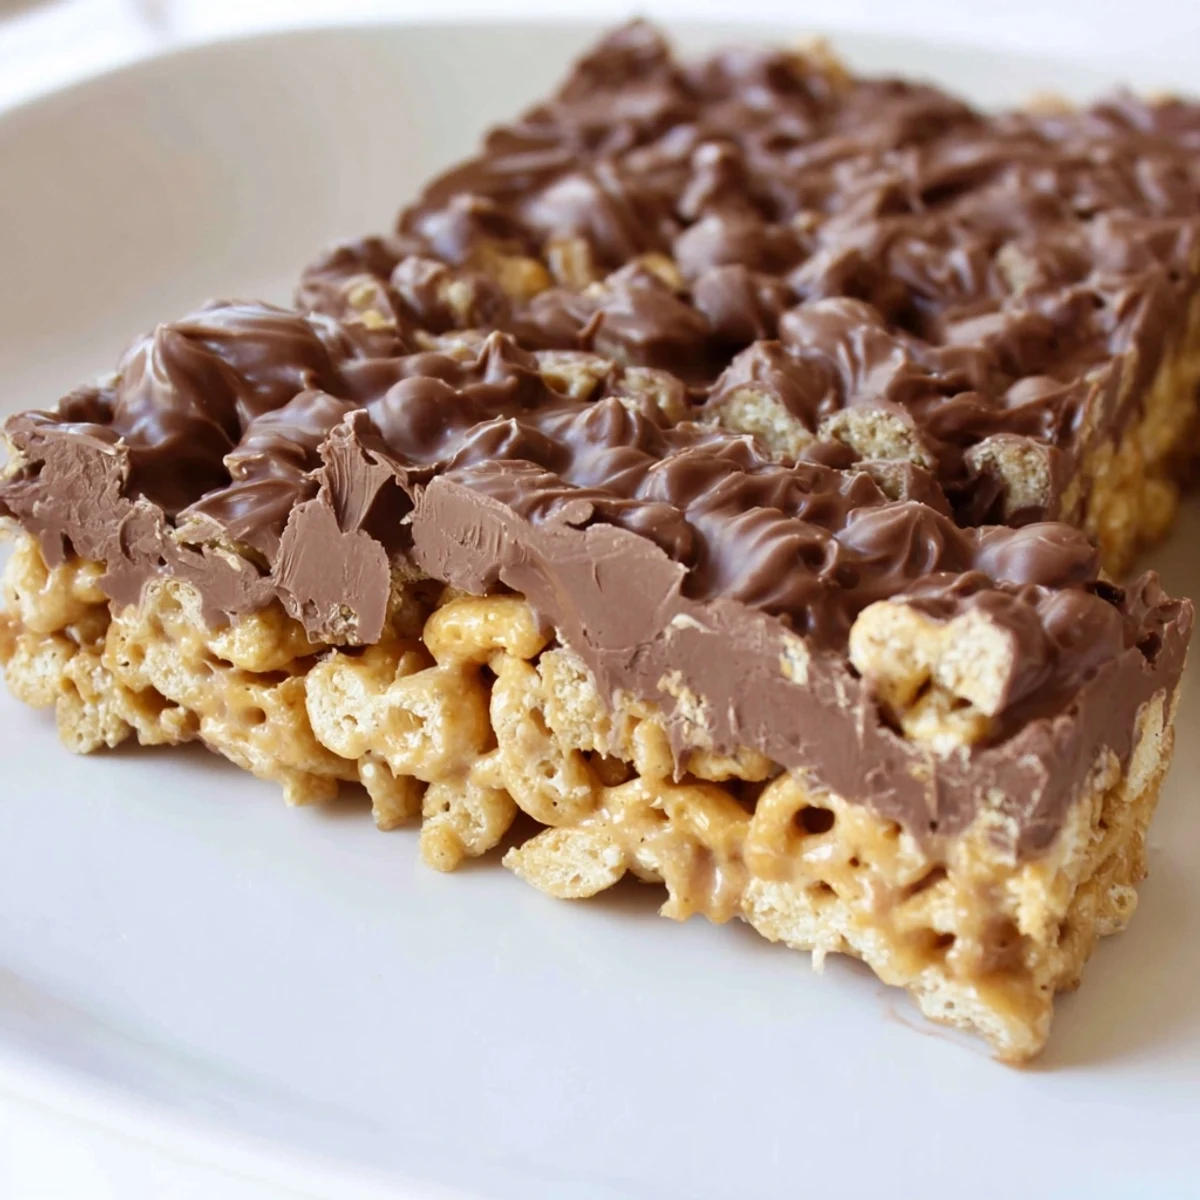
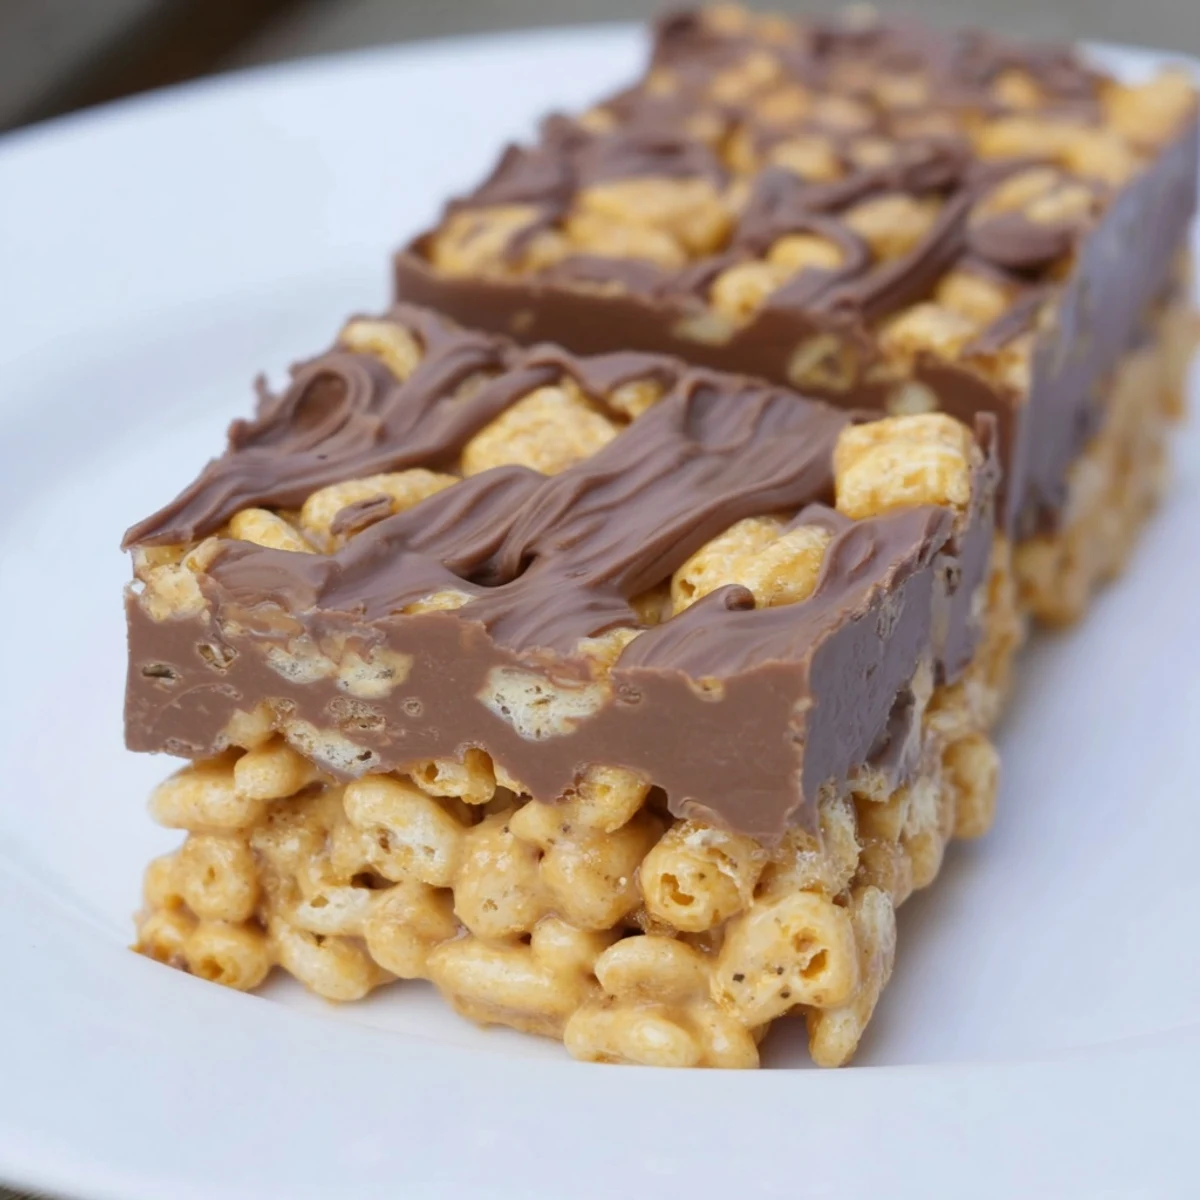
Save These no-bake bars combine crispy gluten-free Chex cereal with a rich mixture of peanut butter, honey, and butter, topped with velvety melted chocolate. The entire process takes just 15 minutes of active preparation before chilling sets the layers into perfect, cut-able bars.
The cereal base provides satisfying crunch while the peanut butter-honey binding adds sweetness and creaminess. The chocolate layer creates a decadent finish that complements the salty-sweet flavors below. Perfect for potlucks, after-school snacks, or whenever you need something sweet without heating up the kitchen.
The first time I brought these bars to a neighborhood potluck, I watched them disappear in minutes. My friend Sarah literally took three of them, then asked me to text her the recipe before she even left. I think it's the combination of that honey sweetness with the salty peanut butter that makes people instantly obsessed.
Last summer I made a double batch for our beach trip and my cousin Jake refused to believe they were gluten-free. He kept asking what the secret ingredient was, like I'd somehow managed to make healthy taste incredible. The next morning he was already asking if we had more left for breakfast.
Ingredients
- 4 cups gluten-free Honey Chex cereal: This creates that perfect light crunch that holds up beautifully against the dense toppings
- 1 cup creamy peanut butter: The glue that binds everything together with its rich nutty depth
- 1/2 cup honey: Adds a floral sweetness that pairs perfectly with both peanut butter and chocolate
- 1/4 cup unsalted butter: Creates that luxurious melt-in-your-mouth texture in every bite
- 1 cup semisweet chocolate chips: Forms the dreamy chocolate layer that makes these feel totally indulgent
- 2 tablespoons creamy peanut butter: Swirled into the chocolate for that professional peanut butter cup effect
Instructions
- Prep your pan like a pro:
- Line your 8x8-inch pan with parchment paper letting the edges hang over the sides. This overhang becomes your handles later making removal ridiculously easy.
- Melt the base mixture:
- Combine your peanut butter, honey, and butter in a large saucepan over medium-low heat. Stir constantly until everything melts together into this gorgeous glossy mixture.
- Coat every single piece:
- Pour in the Honey Chex and gently fold until every piece is covered in that sticky sweet coating. Take your time here you want that uniform distribution.
- Press it in tight:
- Transfer the mixture to your prepared pan and press it down firmly. I use the back of a spoon to really compact it creating that solid base that holds together perfectly.
- Make the chocolate magic:
- Microwave your chocolate chips with the extra peanut butter in 30-second intervals. Stir between each round until you have this silky smooth glossy chocolate mixture.
- Spread and chill:
- Pour the chocolate over your cereal base spreading it evenly. Pop the whole thing in the fridge for at least one hour until it's completely set.
- Cut into bars:
- Use the parchment overhang to lift the whole block out. Cut into squares with a sharp knife and try not to eat them all in one sitting.
 Save
Save My daughter helped me make these last Christmas and she declared they tasted even better than the fancy candy we usually buy. Now she asks to make them for every single holiday and family gathering. I've started keeping all the ingredients stocked just in case she gets that baking sparkle in her eyes.
Making Them Your Own
Sometimes I swap in sunflower seed butter for school-safe versions and honestly they're just as delicious. The honey Chex already bring so much flavor that the swap barely registers. You can also toss in some mini marshmallows or crushed pretzels if you're feeling adventurous.
Storage Secrets
I learned the hard way that these need to stay in the fridge or they get sad and soft. Layer them between wax paper in an airtight container and they'll last a whole week. Though in my house they've never made it past day three.
Perfect Presentation
A flaky sea salt sprinkle on top of that chocolate takes these from amazing to absolutely unforgettable. It cuts through all that richness and makes people wonder what makes them so special. Cut them cleanly with a sharp knife wiping the blade between slices for those perfect edges.
- Let the bars sit at room temperature for 5 minutes before serving for optimal texture
- Use a hot knife for cleaner cuts through the chocolate layer
- Package them in cute boxes for effortless homemade gifts
 Save
Save Every time I make these I'm reminded that the simplest recipes often bring the most joy. Hope they become as loved in your house as they are in mine.
Common Questions
- → Can I use regular Chex instead of gluten-free?
-
Yes, regular Chex cereal works perfectly if you don't require gluten-free ingredients. The flavor and texture remain the same.
- → How should I store these bars?
-
Keep bars in an airtight container in the refrigerator for up to 1 week. The cool temperature helps maintain their firm texture and prevents the chocolate from softening.
- → Can I make these nut-free?
-
Absolutely. Substitute sunflower seed butter or soy nut butter for the peanut butter in both the base and topping. The texture and setting time remain consistent.
- → Do these need to be refrigerated?
-
Yes, refrigeration is necessary for the chocolate topping to set properly and keep the bars firm. They become too soft at room temperature due to the butter and peanut butter content.
- → Can I freeze these bars?
-
These freeze well for up to 2 months. Wrap individual bars in plastic wrap, then place in a freezer-safe container. Thaw in the refrigerator before serving.
- → What size pan works best?
-
An 8x8-inch square pan creates bars with ideal thickness. A 9x9-inch pan works but yields slightly thinner pieces, while a smaller pan makes thicker, richer bars.