 Save
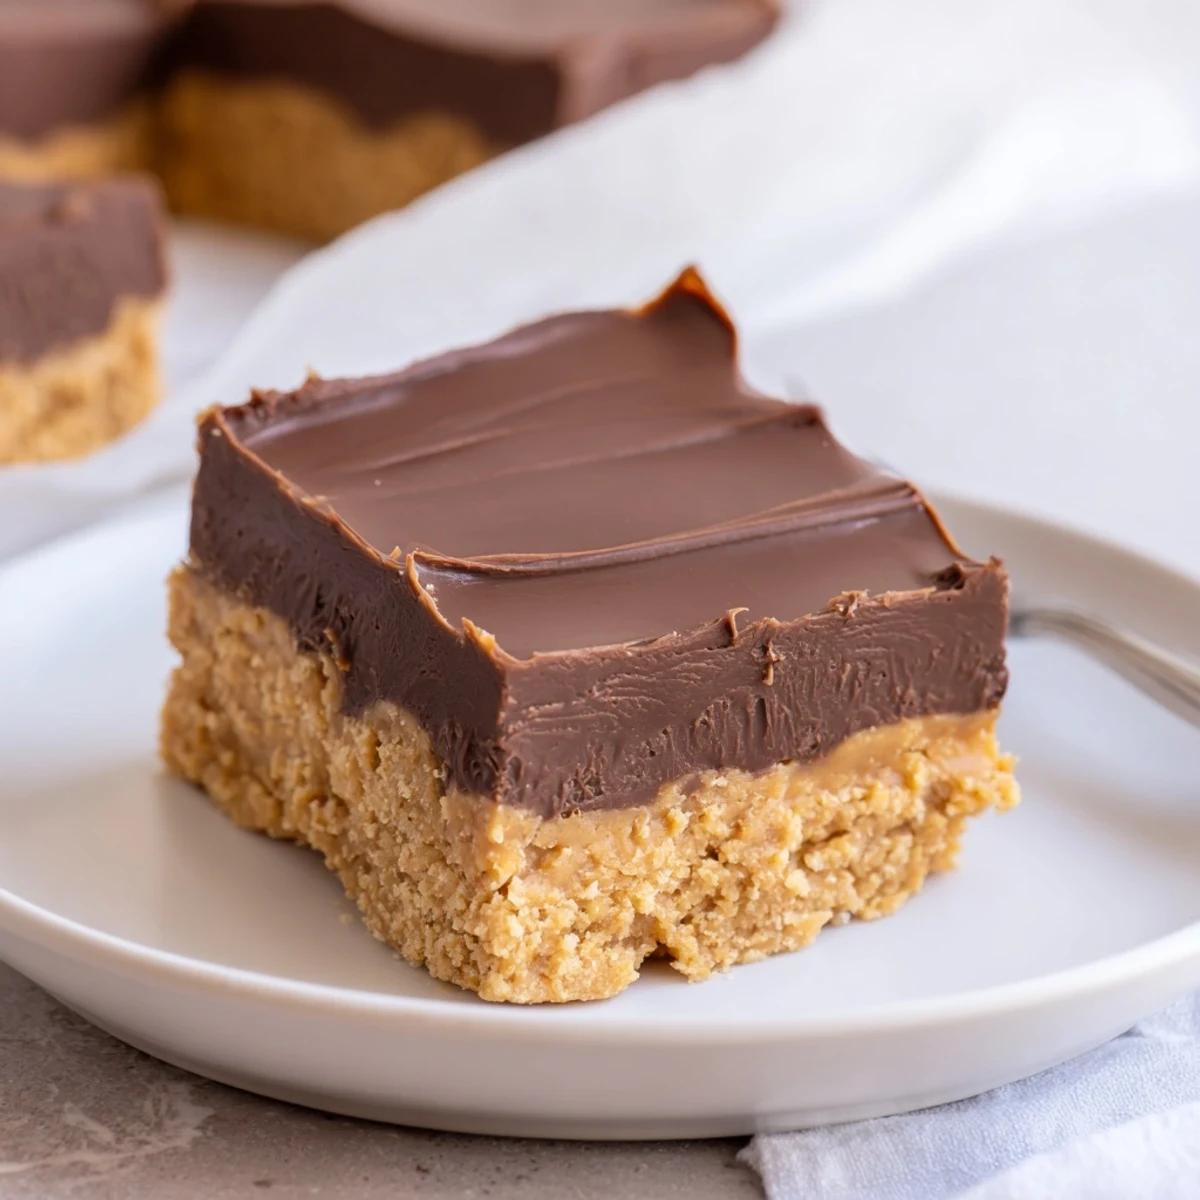
Save These no-bake peanut butter bars combine a creamy peanut butter and graham crumb base with a glossy chocolate-peanut topping. Whisk melted butter and peanut butter with powdered sugar and crumbs, press into a lined pan, then pour over melted chocolate mixed with peanut butter. Chill about 2 hours, slice into 16 squares. Swap crunchy peanut butter or add chopped peanuts for texture; keep chilled up to a week.
The scent of peanut butter and chocolate wafting through my kitchen always puts me in a strangely good mood, especially on days when turning on the oven feels like too much. One day after lunch, my craving for something decadent collided with a lack of time and the heat of summer, which led me to whip up these no bake peanut butter bars. Something about mixing the ingredients by hand, pressing the dough into the pan, and watching the shiny chocolate top set in the fridge just feels so satisfyingly simple. There’s an undeniable joy in slicing cold, perfect bars that required barely any effort.
One rainy Saturday, a game night demanded a last-minute sweet fix. I had just enough peanut butter and a forgotten sleeve of graham crackers, so these bars made their impromptu debut and disappeared before the first round of cards was over. Laughter filled the room as we snuck extra pieces between turns, and now these have become my go-to treat for any casual gathering. Not once have I returned home with leftovers.
Ingredients
- Creamy peanut butter: Smooth, classic peanut butter creates that rich, melt-in-your-mouth texture—I've learned to avoid natural versions here for best results.
- Unsalted butter: Melting the butter lets it mix effortlessly into the base, and unsalted gives you more control over flavor.
- Powdered sugar: This sweetens without any graininess, and its fine texture helps achieve that signature bar consistency.
- Graham cracker crumbs: These add a lovely, subtle crunch—using a food processor makes for even crumbs, but a zip-top bag and rolling pin works just as well in a pinch.
- Vanilla extract: A splash of vanilla rounds out the sweetness and enhances all the flavors—don’t skip it.
- Semi-sweet chocolate chips: Melting these creates a perfectly luscious chocolate layer, and the semi-sweet keeps things balanced.
- Extra creamy peanut butter (for the topping): Stirring this with chocolate chips makes the topping wonderfully smooth and easy to slice.
Instructions
- Prep your pan:
- Line your 8x8 inch pan with parchment, letting the edges hang over—this makes lifting the bars a breeze later.
- Mix the base:
- Stir together the melted butter and peanut butter in a large bowl until velvety smooth and golden.
- Combine dry ingredients:
- Add in the powdered sugar and graham cracker crumbs, followed by vanilla; mix until you have a thick, cohesive dough that’s easy to press.
- Press and smooth:
- Transfer the dough to your prepared pan and press it firmly and evenly—I use the back of a spatula to get a perfectly flat surface.
- Make the topping:
- Add chocolate chips and extra peanut butter to a microwave-safe bowl and melt in short bursts, stirring often, until smooth and glossy.
- Finish and chill:
- Pour the melted chocolate mixture over the base, smoothing it edge to edge, then refrigerate for at least 2 hours so everything sets nicely.
- Slice and serve:
- Once firm, lift the bars from the pan using the parchment, slice into 16 generous squares, and enjoy immediately—or stash for later.
 Save
Save There was a moment one summer evening when these bars became more than just a sweet snack—I handed one to my neighbor over the garden fence, and her eyes widened at the first bite. We ended up chatting away until sunset with chocolate still on our fingers, proof that great food always brings people together.
Creative Ways to Change Up Your Bars
Experimenting from time to time, I’ve tried folding in crushed roasted peanuts for crunch or swirling a tablespoon of caramel sauce into the topping for an extra decadent twist. Swapping the graham crackers for digestive biscuits or gluten-free cookies gives you new flavors, and don’t be afraid to sprinkle a pinch of flaky salt on top just before chilling for a grown-up finish. Every batch is a little different, which keeps things fun in the kitchen.
Best Storage and Make-Ahead Tips
Once set and sliced, these bars are happiest in an airtight container in the refrigerator, and they stay delightfully fresh for a week. If you like them firmer, eating them straight from the fridge is fantastic, but they also soften up at room temperature for a fudgier feel. Making them a night ahead only seems to improve the flavor and texture.
Troubleshooting for Perfect Results Every Time
Small hiccups happen, but don’t worry—a crumbly base just means you can press a little firmer or add a drizzle more melted butter. If your chocolate topping seems too thick, it likely needs a bit more peanut butter for that silky sheen. Keep parchment overhangs in mind for super easy bar removal—they're a game changer.
- Go slow with melting chocolate—overheating can seize it up.
- Wipe your knife between cuts for cleaner slices every time.
- Don’t skip the chill time—it’s what transforms the texture.
 Save
Save If you're on the hunt for a quick, crowd-pleasing treat, these no bake peanut butter bars have you covered. I hope you find as much joy making (and eating) them as I always do.
Common Questions
- → Can I use crunchy peanut butter?
-
Yes — swap creamy for crunchy to add texture. If you add chopped peanuts as well, reduce extra mix-ins to prevent the base from becoming too dry.
- → How do I melt the chocolate without scorching?
-
Use 30-second microwave bursts, stirring between each, or melt over a double boiler set over simmering water. Remove from heat as soon as it’s smooth to avoid seizing.
- → How long should I chill before slicing?
-
Chill at least 2 hours until fully firm. For cleaner slices, refrigerate longer or briefly freeze and wipe a sharp knife warm under hot water between cuts.
- → Can I make these gluten-free?
-
Yes — replace graham crumbs with gluten-free cookies or oat-based crumbs and confirm chocolate and peanut butter labels for cross-contamination warnings.
- → How should I store leftovers?
-
Store in an airtight container in the refrigerator for up to one week. For longer storage, freeze individual bars wrapped tightly for up to 2 months and thaw in the fridge.
- → Any tips to boost flavor?
-
Add a pinch of flaky sea salt on top of the chocolate, a splash of vanilla to the base, or swap some semi-sweet for dark chocolate to deepen the flavor.