 Save
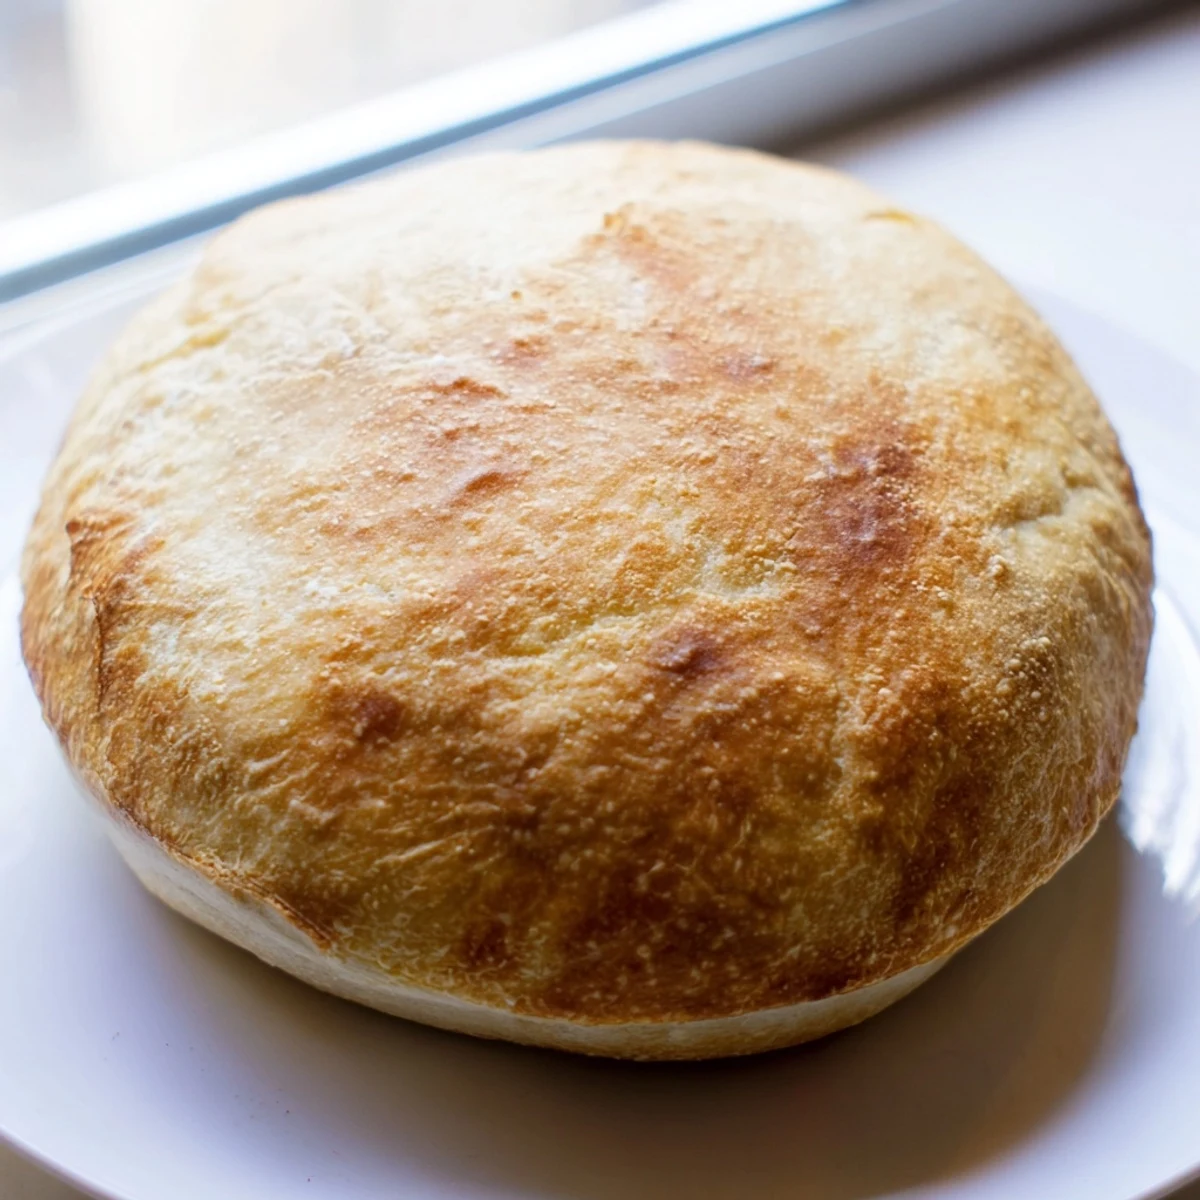
Save Master the art of making soft, fluffy bread without an oven using just a heavy skillet. This stovetop method yields a golden, tender loaf with a crisp crust in about 45 minutes of active time. The dough requires basic pantry staples and rises in just one hour. Cook on low heat with a tight-fitting lid to trap steam, creating a beautifully puffy interior. Flip halfway through for even browning. Perfect for apartment living, camping, or whenever you crave fresh bread quickly.
My oven broke the week before Thanksgiving, and panic set in until my grandmother mentioned how people used to cook bread on cast iron stoves. That snowy afternoon, my tiny apartment filled with the most incredible aroma as this golden round cooked slowly on my burner, and I realized Id never actually needed an oven at all.
I made six loaves that week, experimenting with herbs and timing. My roommate kept wandering into the kitchen, asking if Id secretly bought bread from the new bakery downtown. Watching peoples faces when I told them it was stovetop bread became my favorite part.
Ingredients
- All-purpose flour: Creates the perfect structure for stovetop cooking
- Instant dry yeast: Works beautifully with warm water for quick rising
- Sugar: Feeds the yeast and helps the bread develop that golden color
- Salt: Essential for flavor and controlling the yeasts activity
- Olive oil: Keeps the dough tender and adds lovely richness
- Warm water: Should feel like bath temperature, around 110°F
Instructions
- Mix the dry ingredients:
- Combine flour, yeast, sugar, and salt in a large bowl until well blended
- Bring the dough together:
- Add warm water and olive oil, stirring until a rough, shaggy mass forms
- Knead until smooth:
- Work the dough on a floured surface for 8 to 10 minutes until it bounces back when pressed
- Let it rise:
- Place in an oiled bowl, cover with a damp cloth, and wait about an hour until doubled
- Shape your loaf:
- Gently deflate and form into a round, tucking the edges underneath
- Prepare the pan:
- Coat a heavy skillet with oil and place the dough in the center
- First cook:
- Cover tightly and cook on the lowest possible heat for 15 minutes
- Flip and finish:
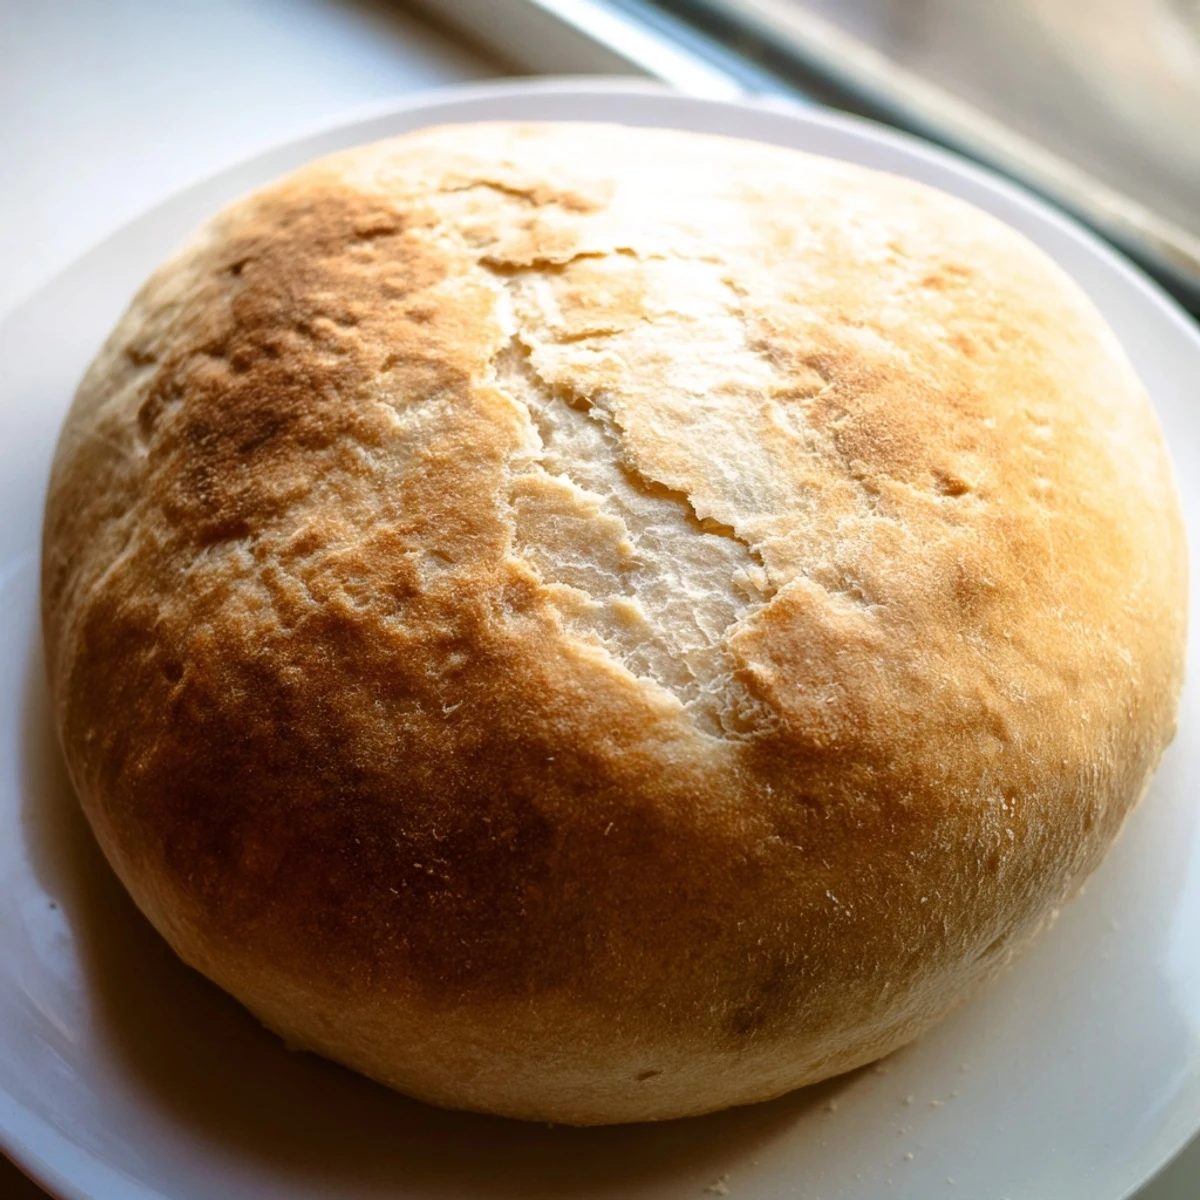
- Carefully turn the bread, cover again, and cook 12 to 15 minutes more until hollow when tapped
- Cool completely:
- Let rest on a wire rack for at least 15 minutes before slicing
 Save
Save I once cooked it on medium heat because I was impatient and ended up with charcoal bottom and raw middle. Now I keep the flame so low it feels like nothing is happening, but that slow gentle heat is what makes it perfect.
Getting The Rise Right
The most reliable spot Ive found for rising dough is inside a turned-off oven with just the pilot light on. My warmest counter spot works too, but anywhere with a steady temperature and no drafts will help your dough double beautifully.
Skillet Secrets
Heavy cast iron or thick-bottomed pans distribute heat most evenly. The first time I used a thin skillet, I ended up with hot spots and uneven browning. A good heavy pan with a tight lid creates its own little oven environment on your stove.
Serving Suggestions
This bread is incredibly versatile and adapts to whatever youre craving. I love mixing dried rosemary into the dough, or brushing the top with garlic butter right after it comes out of the pan.
- Try adding 2 teaspoons of your favorite dried herbs to the flour mixture
- Serve alongside soups and stews for dipping
- Best enjoyed warm, ideally the same day you make it
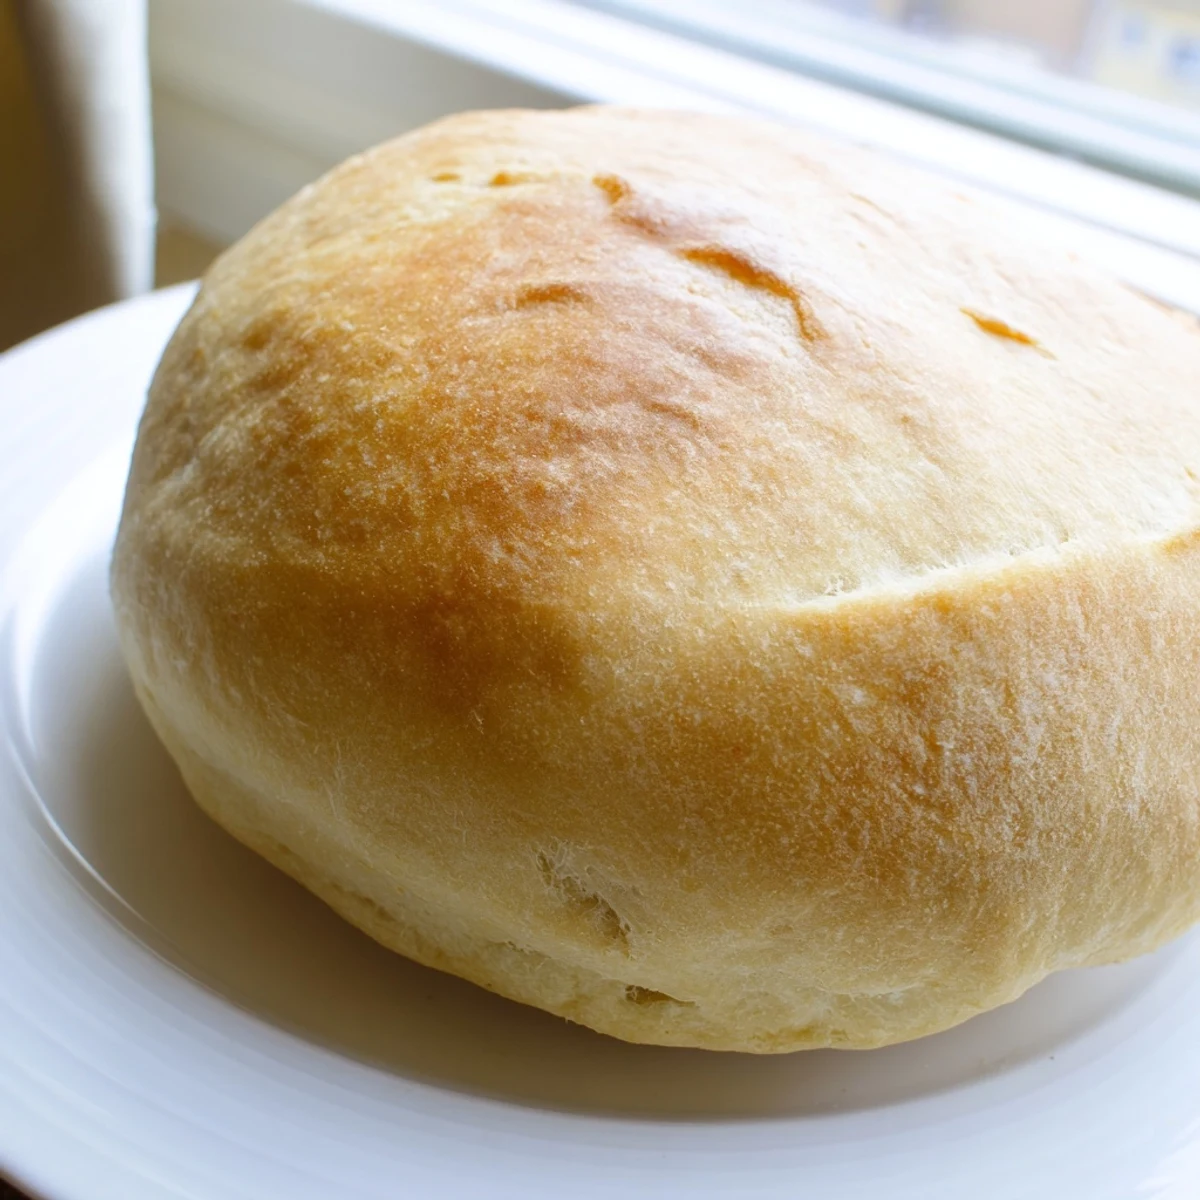 Save
Save Theres something magical about pulling fresh bread from a skillet, steam rising as you cut into that crisp golden crust. Simple ingredients, minimal equipment, and pure comfort on a plate.
Common Questions
- → Can I make this without a lid?
-
A tight-fitting lid is essential for trapping steam and cooking the bread through. Without one, use a large baking sheet inverted over the skillet or create a foil tent sealed tightly around the pan edges.
- → What's the ideal pan size?
-
A 10-12 inch skillet with heavy bottom works best. The weight ensures even heat distribution, while the diameter allows the loaf to spread slightly while maintaining enough height for proper rising.
- → Why cook on the lowest heat?
-
Low heat prevents burning the bottom before the interior cooks through. The trapped steam from the lid creates an oven-like environment, allowing the bread to bake evenly without direct high heat scorching the crust.
- → Can I add mix-ins like cheese or garlic?
-
Absolutely. Knead in shredded cheese, roasted garlic, or herbs during step 3. For sweet variations, try cinnamon sugar or dried fruit. Just keep additions to about 1/3 cup total to maintain dough structure.
- → How do I know when it's done?
-
The bread is ready when both sides are golden brown and tapping the loaf produces a hollow sound. An instant thermometer inserted into the center should read 190-200°F for fully cooked interior.