 Save
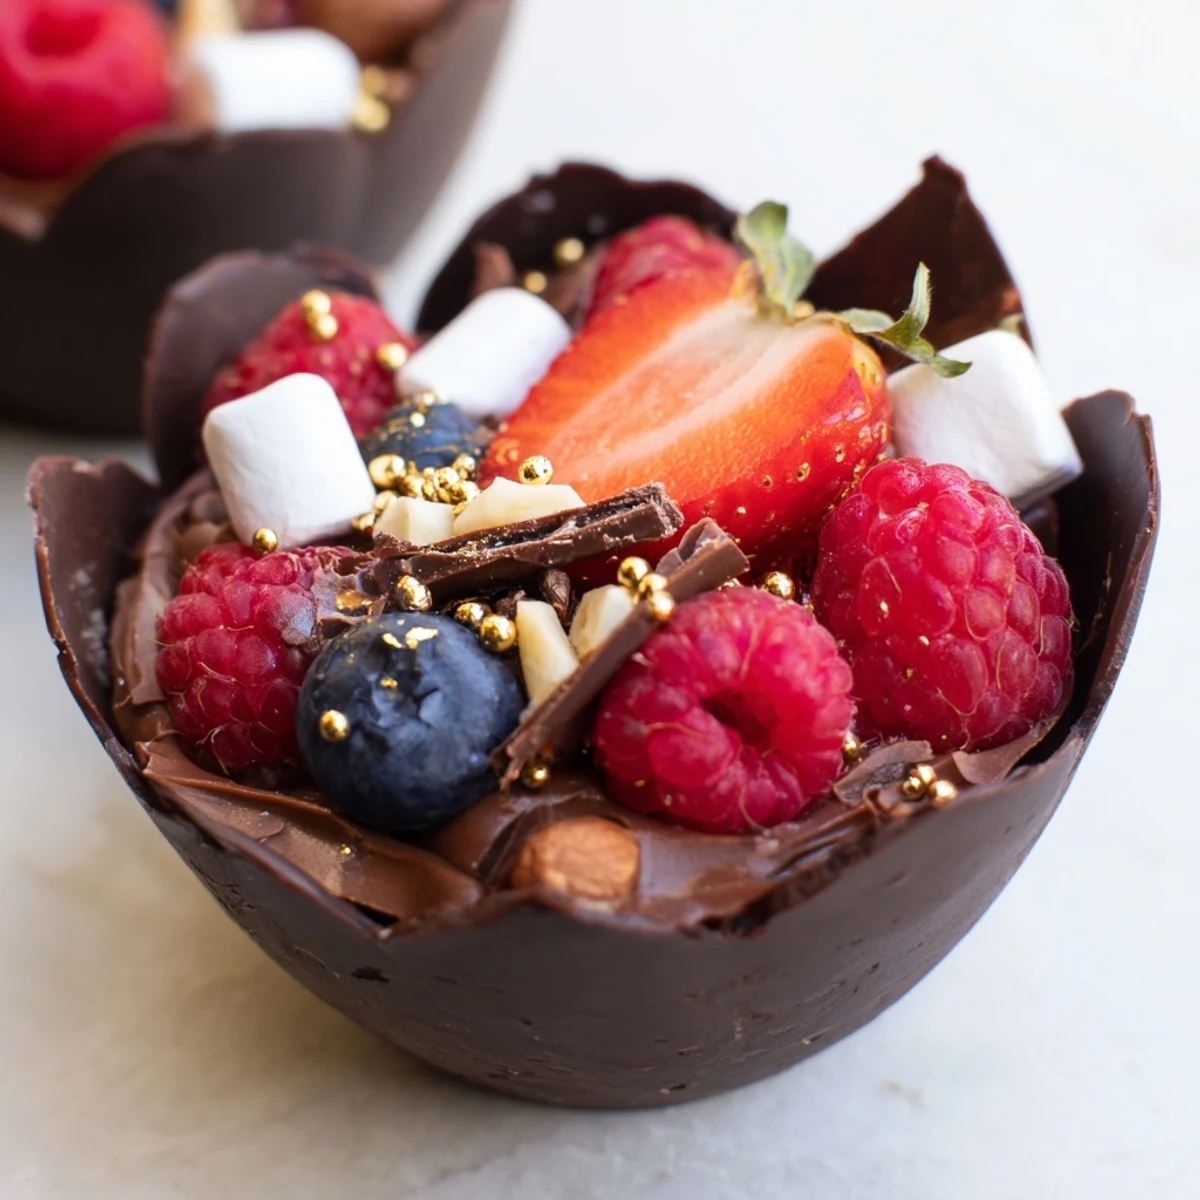
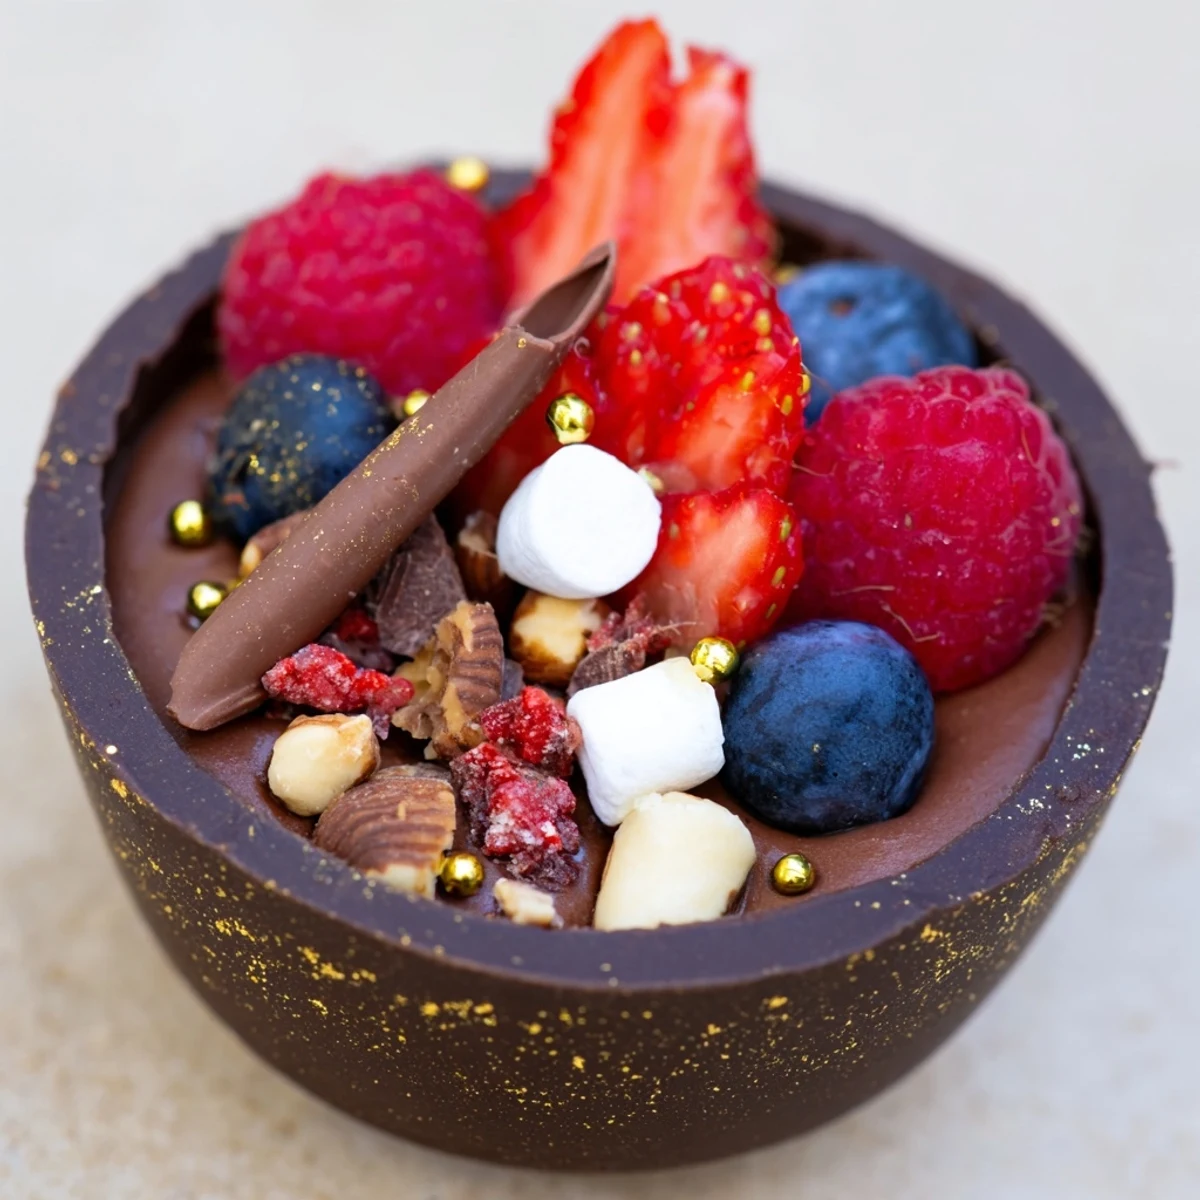
Save These sophisticated chocolate grazing cups feature handmade dark chocolate cups filled with silky chocolate mousse and topped with fresh mixed berries, crunchy nuts, mini marshmallows, and chocolate curls. The contrast between the crisp chocolate shell and velvety mousse creates an irresistible texture combination, while vibrant berries and garnishes add visual appeal to any dessert spread.
Ready in just over an hour with simple preparation steps, these individual portions are perfect for entertaining, dinner parties, or elevating everyday moments into something special.
The first time I made chocolate cups, my kitchen smelled like a European chocolate shop for hours. My roommate wandered in, following the scent like a cartoon character, and we ended up eating half the toppings straight from the bowls while the chocolate set. Now they're my go-to when I need something that looks fancy but secretly takes minutes to assemble.
I served these at my sister's engagement party last spring, and honestly, they were the talk of the dessert table. People kept asking where I ordered them from, which is always the best compliment. Watching guests try to decide which flavor combination to grab first was entertainment enough.
Ingredients
- Dark chocolate: The 60% cocoa minimum gives you that sophisticated bitterness that balances the sweet mousse and berries perfectly
- Heavy cream: Cold from the fridge is non-negotiable here—it whips up faster and holds those gorgeous peaks longer
- Powdered sugar: Dissolves seamlessly into the cream so you never get that gritty texture you sometimes get with granulated
- Fresh berries: They're not just garnish—their tartness cuts through all that rich chocolate like a knife
- Chopped nuts: Toast them for 3 minutes first if you want that extra layer of flavor that makes people pause and ask what's different
Instructions
- Melt the chocolate for cups:
- Work in 30-second bursts, stirring between each one, because chocolate holds its shape even when it's about to burn
- Paint your cup forms:
- Don't worry about getting it perfect—the slightly rustic look actually makes them feel more handmade and special
- Let them set:
- This is the hardest part because you'll want to touch them constantly, but the 20 minutes makes the difference between cups that hold together and ones that collapse
- Whip the cream:
- Stop when soft peaks barely hold their shape—over-whipped cream gives you mousse that feels heavy instead of airy and dreamy
- Temper the chocolate:
- Folding a spoonful of cream into the warm chocolate first prevents it from seizing up into those sad, grainy lumps
- Combine gently:
- Use a spatula and fold like you mean it—slow and deliberate keeps all that air you just whipped into the cream
- Fill the cups:
- Leave that third of space empty because the toppings need somewhere to sit without tumbling off onto your nice serving platter
- Add your toppings:
- This is where you can make each cup unique—I like putting the gold leaf on just a few so they feel extra special
- Final chill:
- The last 20 minutes lets everything meld together so flavors marry and textures firm up just right
 Save
Save These became my signature contribution to every friend's birthday dinner after that first engagement party. There's something magical about handing someone their own personal cup of indulgence—no sharing required.
Making Them Ahead
The chocolate cups and mousse actually keep well for a day, but hold off on toppings until an hour before serving or they'll get soggy. I've learned this the hard way when I tried to assemble everything the night before.
Chocolate Options
White chocolate cups with milk chocolate mousse creates this stunning contrast that looks like snow against velvet. The first time I tried that variation, my phone was blowing up with photos from the party before I even got home.
Presentation Secrets
Arrange them on a cake stand at different heights to create a dessert that feels architectural and impressive. The visual impact makes people think you're hosting something much fancier than a casual dinner.
- Use tweezers to place gold leaf precisely where you want it
- Keep berries dry and pat them with paper towels first
- Have extra chocolate curls ready because some always break
 Save
Save These grazing cups are the kind of dessert that makes people slow down and savor every bite. Sometimes the most elegant things are also the simplest to make.
Common Questions
- → How far in advance can I make these chocolate cups?
-
The chocolate cups can be prepared up to 2 days ahead and stored in an airtight container at room temperature. However, for optimal texture and freshness, assemble with mousse and toppings the same day you plan to serve them.
- → Can I use milk or white chocolate instead of dark?
-
Absolutely! While dark chocolate provides a sophisticated depth that balances the sweet toppings, milk or white chocolate work beautifully for different flavor profiles. Just note that white chocolate may require slightly different melting techniques due to its higher milk solids content.
- → What other toppings work well with these cups?
-
These cups are incredibly versatile. Try adding crushed cookies, pretzel pieces for salt contrast, shredded coconut, citrus zest, fresh mint leaves, or even a drizzle of salted caramel. Seasonal fruits like poached pears or stone fruits also create lovely variations.
- → Do I need special equipment for the chocolate cups?
-
The beauty of this dessert lies in its simplicity. You'll need cupcake liners (silicone works best for easy removal), a microwave or double boiler for melting chocolate, and basic mixing tools. A pastry brush helps achieve even coating, but a small spoon works just as well.
- → How should I store leftover assembled cups?
-
Once assembled, store the cups in the refrigerator for up to 24 hours. The mousse may soften slightly over time, so they're best enjoyed within a few hours of assembly. Avoid freezing as the chocolate shell can crack and the mousse texture may become grainy.