 Save
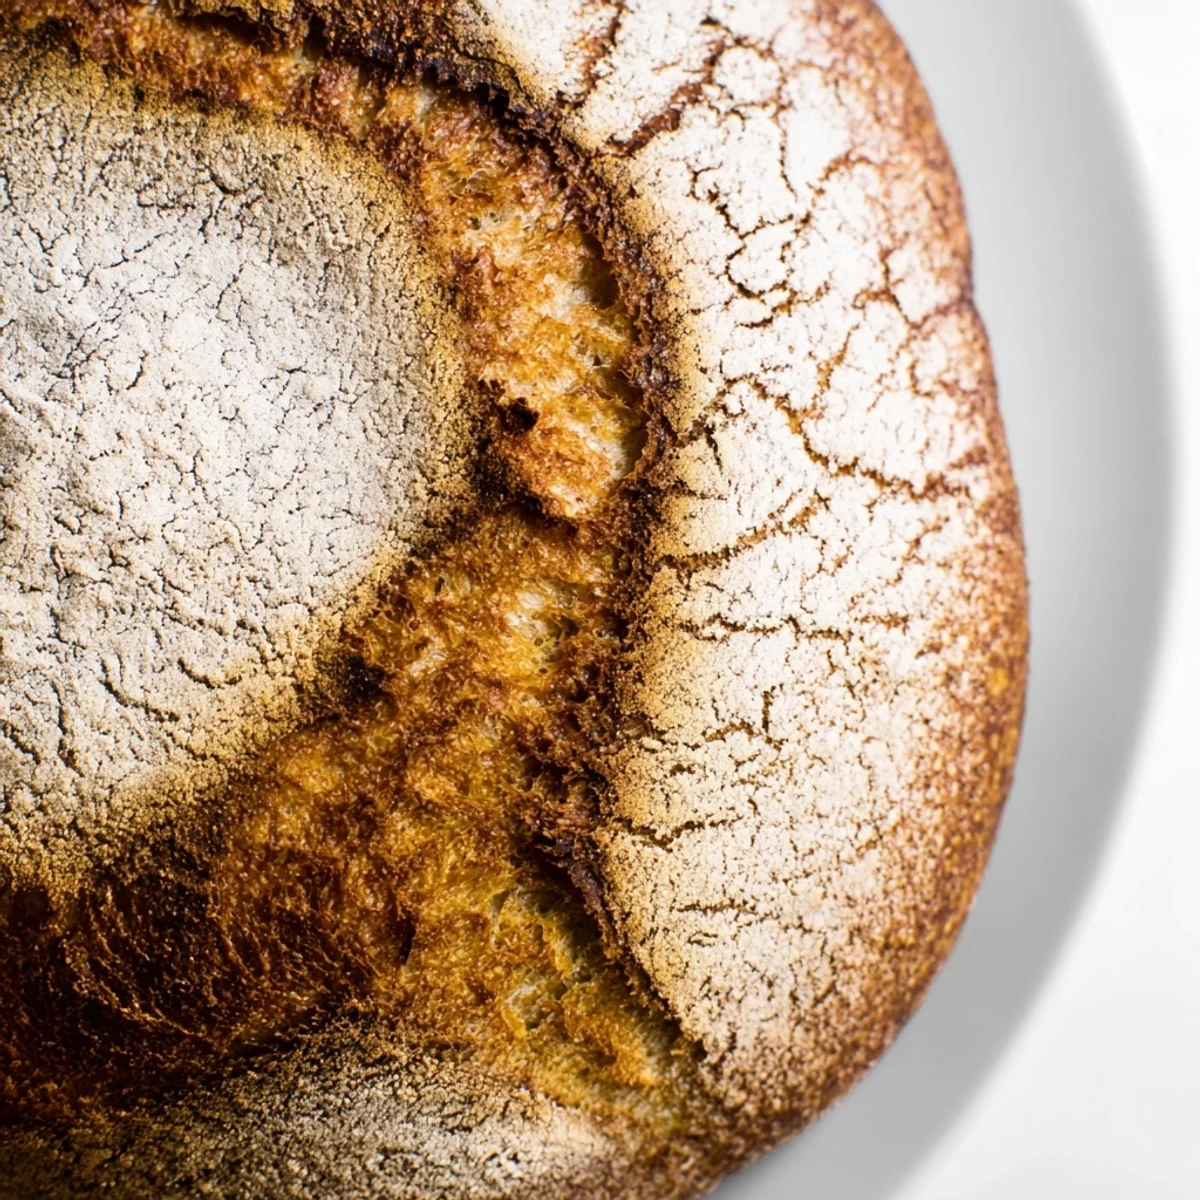
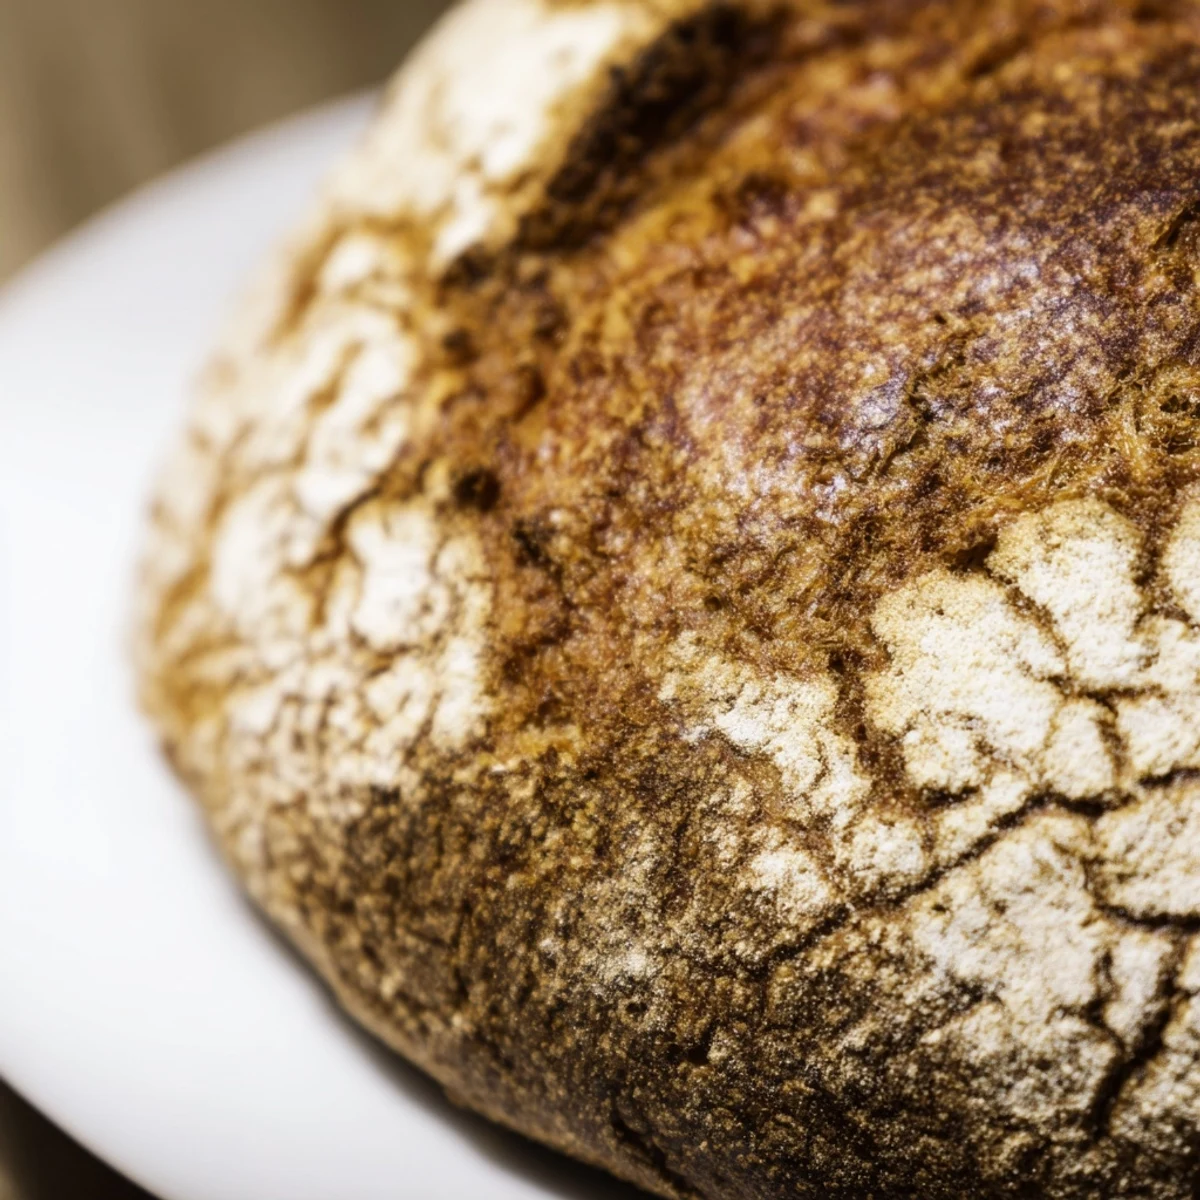
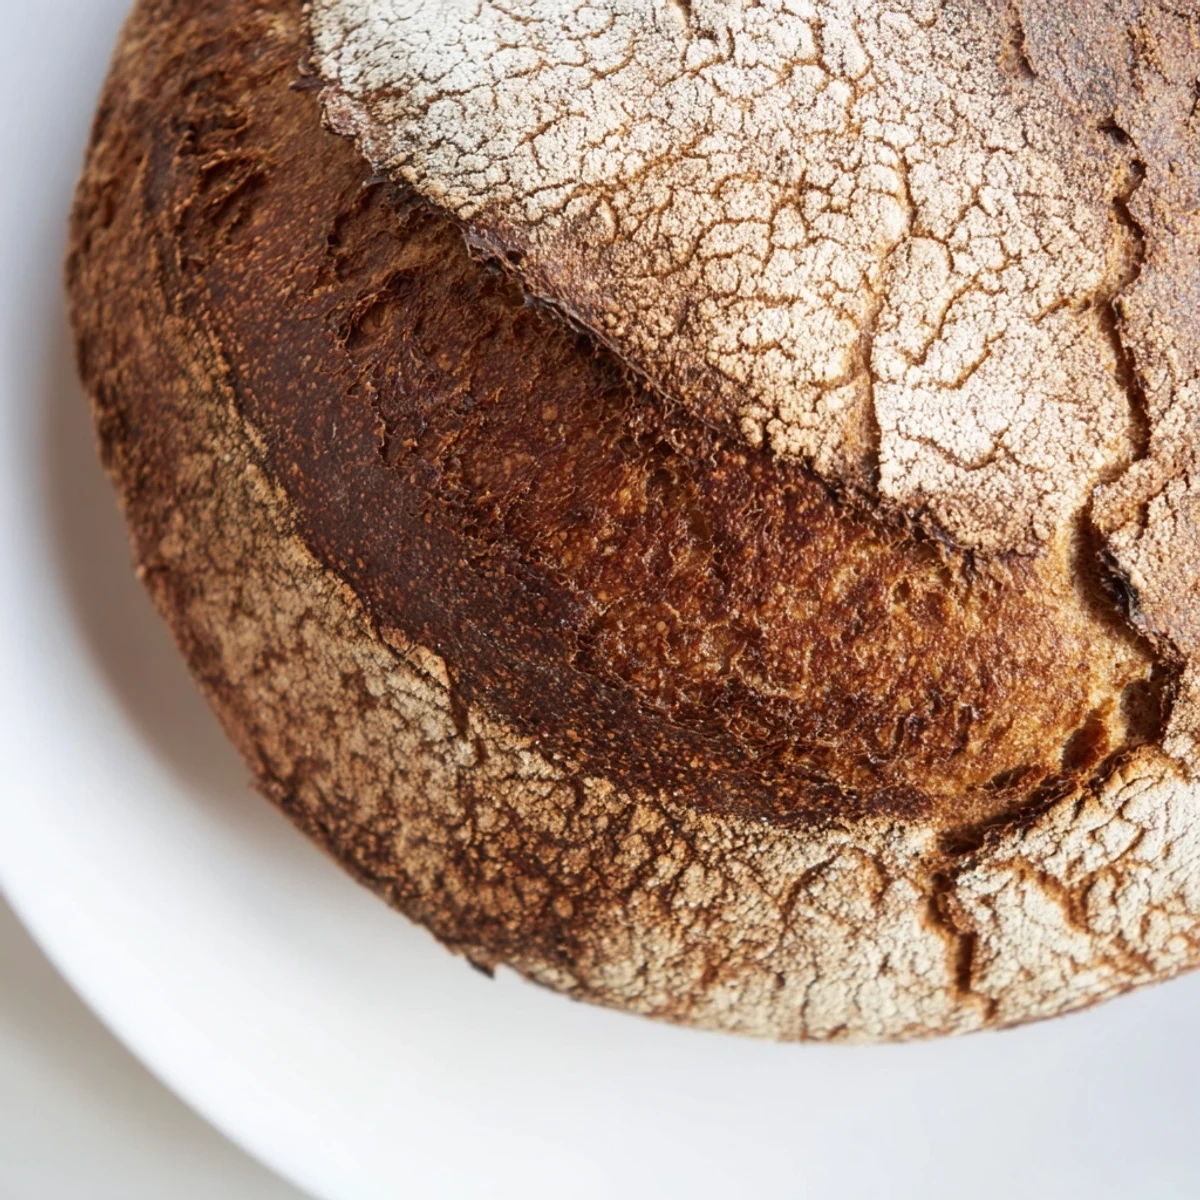
Save Craft a professional-quality rustic loaf without any kneading whatsoever. Simply combine flour, salt, yeast, and water, then let time work its magic through an overnight fermentation period. The result is a beautiful artisan loaf with a deeply golden, crackling crust and an open, airy crumb structure that rivals any bakery.
The method requires just 10 minutes of active preparation, followed by a lengthy 12-18 hour rise that develops incredible flavor depth. Baking in a preheated Dutch oven creates the perfect steam environment for that signature crust. This versatile base welcomes additions like olives, nuts, or dried fruits, while the finished loaf serves beautifully alongside olive oil, salted butter, or as the foundation for exceptional sandwiches.
The smell of this bread baking pulls everyone into the kitchen, without fail. My roommate first made it during finals week when we had zero energy but needed comfort food. We watched the dough bubble on the counter like a science experiment, then forgot about it until we needed something to eat with soup. Now it is the only bread recipe that actually fits into real life.
Last winter I made six loaves in three weeks because my family kept requesting it for Sunday dinner. My dad actually asked for the recipe, which never happens. We ate it warm with salted butter, then turned the leftovers into the best garlic bread. Now it is just part of the rotation.
Ingredients
- Bread flour: Gives you that professional structure and chew, though all purpose works in a pinch
- Salt: Do not skip this, it is what makes the flavor actually pop
- Instant yeast: No proofing needed, just mix it right in with the dry stuff
- Lukewarm water: Think bath temperature, about 100 degrees, nothing hotter or the yeast gets stressed
- Extra flour for dusting: Keeps everything from sticking and makes handling the wet dough manageable
Instructions
- Mix the dry ingredients:
- Whisk the flour, salt, and yeast together in a large bowl until everything looks evenly combined
- Add the water:
- Pour in the lukewarm water and stir with a wooden spoon until you have a shaggy, sticky mess
- Let it rest:
- Cover the bowl tightly and walk away for 12 to 18 hours until bubbles dot the surface and it has doubled
- Shape the loaf:
- Scrape the dough onto a floured surface and gently form it into a rough ball with floured hands
- Second rise:
- Set the dough on parchment paper, cover it, and let it rest for 30 to 60 minutes while the oven heats
- Heat the pot:
- Put your Dutch oven in the oven and crank it to 450 degrees for at least 30 minutes
- Bake covered:
- Lift the dough into the hot pot using the parchment, cover, and bake for 30 minutes
- Crisp it up:
- Remove the lid and bake another 12 to 15 minutes until the crust is deep golden brown
- Cool completely:
- Let the bread rest on a wire rack until it is cool to the touch before slicing into it
 Save
Save This bread became my go to when I realized I could start it before bed and wake up to something ready to bake. Friends who swore they could not bake have sent me photos of their first successful loaves. There is something so satisfying about making something this impressive with so little effort.
Getting The Rise Right
Temperature affects everything with this dough. In summer it might be ready in 10 hours, while winter days can stretch to 18. Look for bubbles on the surface and a dough that looks puffy and alive, not just expanded.
Customizing Your Loaf
I have thrown in everything from chopped olives to walnuts and dried cranberries. Just fold your add ins gently after the first rise so you do not knock all the air out. Whole wheat flour works for up to a third of the total flour if you want more nuttiness.
Storage And Serving Ideas
This bread keeps well for a day wrapped in a cloth, then start thinking about toasting or freezing it. The texture actually makes incredible sandwiches and french toast once it is a day old.
- Toast thick slices and rub with raw garlic for instant garlic bread
- Cube day old bread and bake with olive oil for croutons that actually crisp up
- Freeze sliced portions for quick toast whenever you need it
 Save
Save Nothing beats tearing into a warm slice with good butter and maybe some sea salt. Happy baking.
Common Questions
- → Why does this bread require no kneading?
-
The extended fermentation period of 12-18 hours allows gluten to develop naturally without mechanical kneading. Time and hydration work together to create strong gluten networks, resulting in a properly structured loaf with minimal effort.
- → Can I use all-purpose flour instead of bread flour?
-
Absolutely. While bread flour yields a slightly chewier texture due to higher protein content, all-purpose flour produces excellent results. The difference in final texture is subtle and both versions deliver that signature artisan crust and open crumb.
- → Why bake in a Dutch oven?
-
A preheated Dutch oven traps steam during baking, which is essential for developing a crackly, professional-grade crust. The enclosed environment creates the perfect conditions for oven spring, allowing the bread to expand dramatically before the crust sets.
- → How do I know when the dough has risen enough?
-
Look for bubbles dotting the surface and a dough that has approximately doubled in size. The surface should appear slightly pocked and the dough should feel jiggly when you gently shake the bowl. These visual cues indicate proper fermentation.
- → Can I add mix-ins like nuts or dried fruit?
-
Certainly. Fold in up to 1/2 cup of chopped olives, nuts, seeds, or dried fruits when combining the dry ingredients. These additions distribute evenly through the crumb and create delightful flavor variations while maintaining the loaf's structural integrity.
- → Why must the bread cool completely before slicing?
-
Slicing warm bread releases essential steam and moisture, resulting in a gummy texture and compromised crumb structure. Allowing the loaf to cool completely sets the internal structure, ensuring each slice maintains that perfect chewy texture and prevents the bread from becoming dense or doughy.