 Save
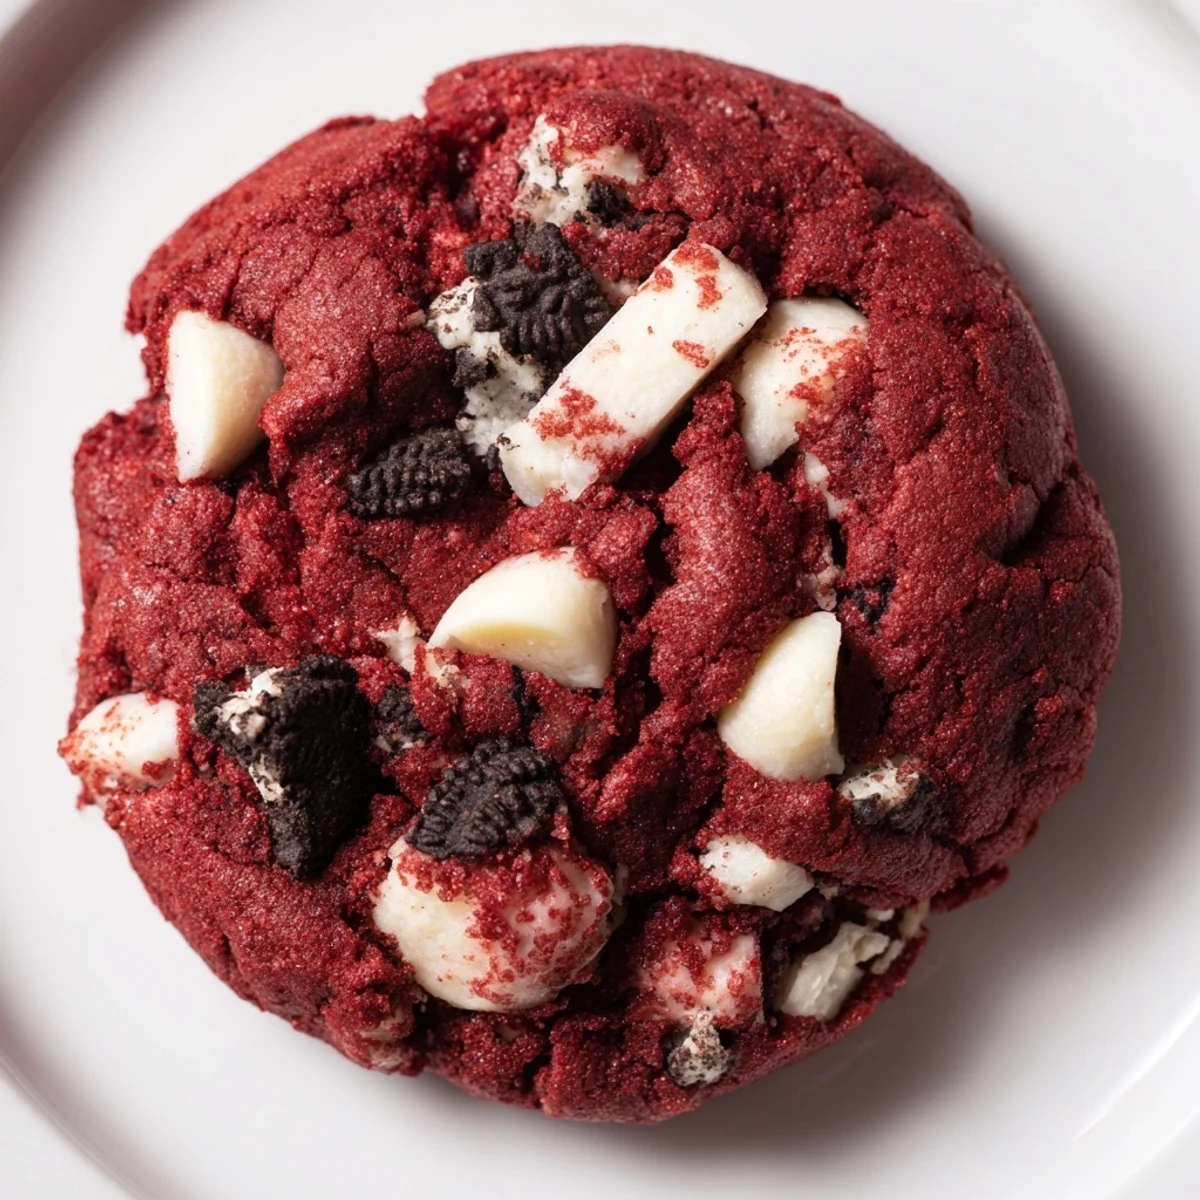
Save These soft red velvet Oreo cookies combine the classic cocoa flavor of red velvet with the irresistible crunch of cookies and cream. Each bite delivers chewy texture from white chocolate chips and satisfying chunks of chopped Oreo cookies throughout.
The dough comes together quickly with basic baking staples, while red food coloring gives these treats their signature vibrant hue. Bake them just right—edges set with slightly underbaked centers—for perfectly soft results.
With 24 cookies per batch and easy preparation, these American desserts are ideal for sharing or enjoying throughout the week. Store them in an airtight container and they'll stay fresh for up to five days.
The first time I made these red velvet Oreo cookies was on a rainy Sunday afternoon when my roommate was having a terrible week. I'd spotted a similar recipe somewhere and decided to wing it with what we had in the pantry, which happened to include a half-opened package of Oreos from a late-night study session. The way the whole apartment smelled like chocolate and comfort was enough to make both of us forget whatever stress we'd been carrying around.
I brought a batch to my cousin's birthday party last summer, and honestly, I think people were more excited about these than the actual cake. My aunt kept asking if there was some secret ingredient, but really it's just that magical cookies-and-cream flavor doing all the heavy lifting. Seeing them disappear from the platter within twenty minutes made me realize this wasn't just another cookie recipe.
Ingredients
- All-purpose flour: This creates the structure for those beautifully thick cookies we're after
- Unsweetened cocoa powder: Don't skip this even though it's a small amount it gives that signature red velvet depth
- Baking soda: Helps achieve the perfect puff and spread in the oven
- Salt: A tiny pinch that makes all the chocolate flavors sing
- Unsalted butter: Room temperature is non negotiable here for proper creaming
- Light brown sugar: Adds moisture and that gorgeous chewy texture
- Granulated sugar: Creates crisp edges while keeping centers soft
- Egg and egg yolk: The extra yolk is my secret trick for richness
- Vanilla extract: Pure extract always worth the extra cost
- Milk: Just enough to bring everything together smoothly
- Red food coloring: Gel coloring gives the most vibrant red without thinning the dough
- White chocolate chips: Creamy sweetness that pairs perfectly with the cocoa base
- Oreo cookies: Roughly chopped so you get big satisfying chunks throughout
Instructions
- Get your oven ready:
- Preheat to 350°F and line two baking sheets with parchment paper because nothing ruins cookie day like stuck bottoms
- Mix the dry ingredients:
- Whisk together flour cocoa powder baking soda and salt in a medium bowl until everything is evenly distributed
- Cream the butter and sugars:
- Beat butter brown sugar and granulated sugar for about 2-3 minutes until the mixture looks light and fluffy
- Add the wet ingredients:
- Mix in the egg egg yolk vanilla milk and red food coloring until the color is completely uniform
- Combine everything:
- Gradually add the dry ingredients mixing just until you no longer see streaks of flour
- Fold in the goodies:
- Gently stir in the white chocolate chips and chopped Oreos being careful not to overmix the dough
- Scoop the cookies:
- Drop rounded balls onto your prepared sheets leaving about 2 inches between each one
- Bake to perfection:
- Bake for 10-12 minutes until edges are set but centers still look slightly soft
- Cool completely:
- Let them rest on the baking sheet for 5 minutes then transfer to a wire rack
 Save
Save My neighbor knocked on my door the first time I baked these, convinced I'd ordered something from a bakery. The way the red color pops against the white chocolate and Oreo pieces makes them look almost too pretty to eat, until you take that first bite and remember exactly why you started baking in the first place.
Making These Your Own
I've experimented with dark chocolate chips instead of white chocolate, and while it changes the flavor profile completely, it's still absolutely delicious. Sometimes during the holidays I'll add a pinch of peppermint extract to make them feel even more festive and special.
Storage Secrets
These actually taste better on day two because the flavors have time to meld together. I keep mine in a glass container with a piece of bread to maintain that fresh-baked softness for up to five days.
Baking Like a Pro
Rotate your baking sheets halfway through baking time for even browning. If you want thicker cookies, chill the dough for 30 minutes before baking.
- Press a few extra Oreo pieces on top before baking for that bakery look
- Use a kitchen scale for consistent results every single time
- Never double the recipe in one bowl instead make two separate batches
 Save
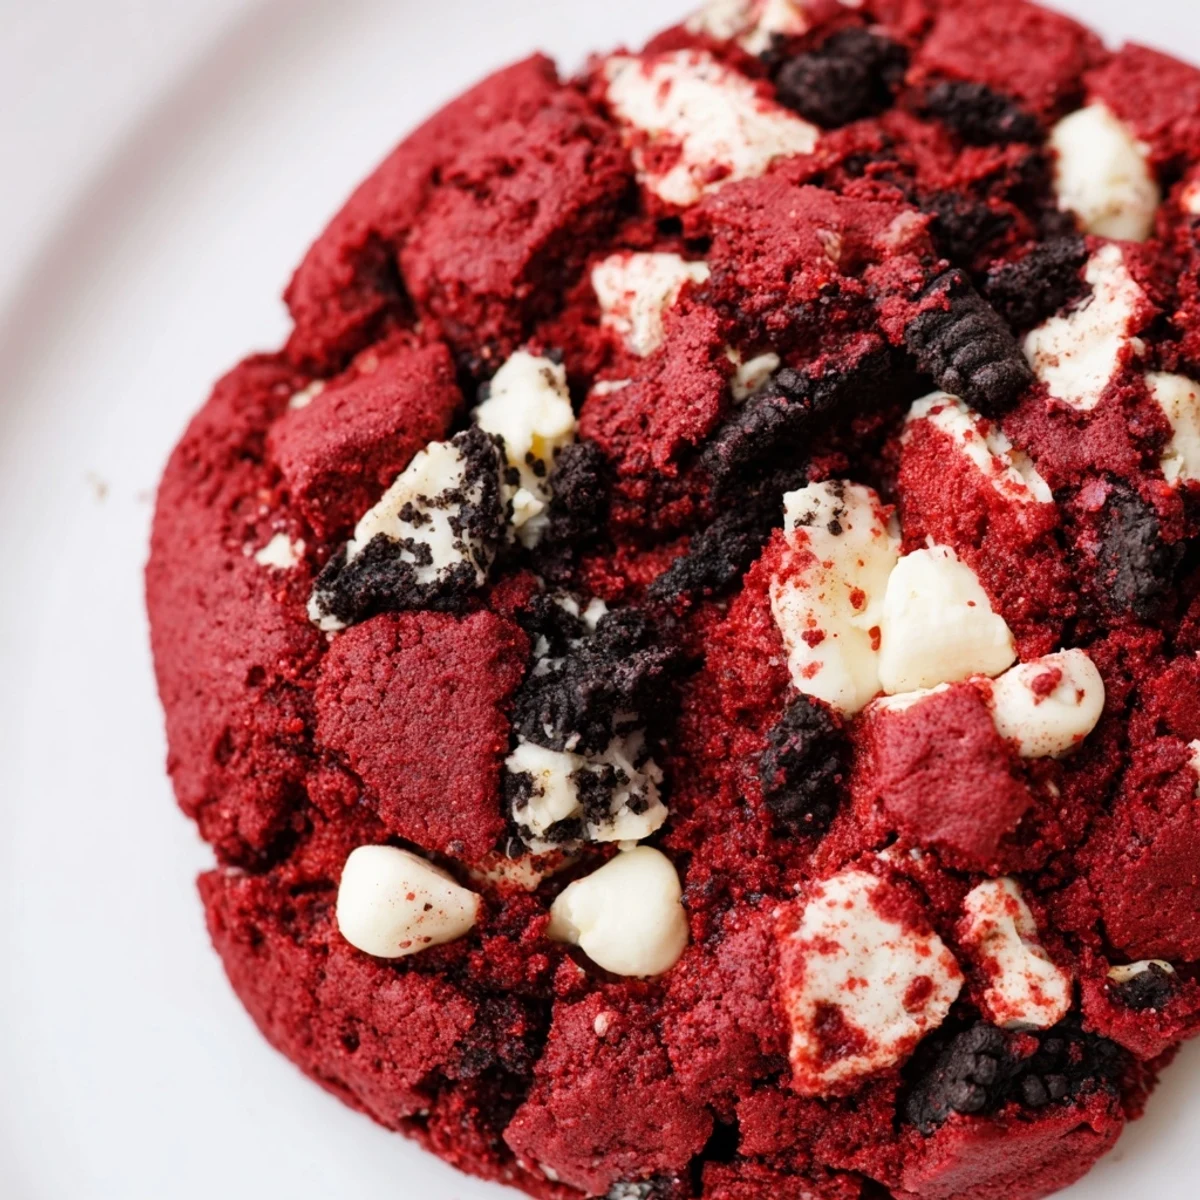
Save There's something almost magical about cutting into a warm cookie and seeing that beautiful red center speckled with chocolate and Oreo pieces. Hope these bring as much joy to your kitchen as they have to mine.
Common Questions
- → What makes these cookies red?
-
Red food coloring provides the signature red velvet color. Gel coloring works best for richer, more vibrant red hues compared to liquid versions.
- → Can I use different mix-ins?
-
Absolutely. Swap white chocolate chips for dark chocolate, milk chocolate, or even chocolate chunks. Try adding different sandwich cookies or crushed chocolate candies for variety.
- → Why do the centers look underbaked?
-
Slightly underbaked centers are intentional—they ensure soft, chewy texture. The cookies continue cooking on the hot baking sheet during the 5-minute cooling period before transfer.
- → How should I store these cookies?
-
Keep them in an airtight container at room temperature for up to 5 days. Place parchment paper between layers to prevent sticking. Avoid refrigerating as it can make them hard.
- → Can I freeze the dough or baked cookies?
-
Yes, freeze scooped dough balls on a baking sheet, then transfer to a freezer bag for up to 3 months. Bake from frozen, adding 1-2 minutes. Baked cookies also freeze well for up to 3 months.
- → What's the best way to chop Oreos?
-
Roughly chop Oreos with a sharp knife on a cutting board, or pulse briefly in a food processor for larger chunks. Avoid over-processing into fine crumbs—you want distinct pieces for texture.