Save
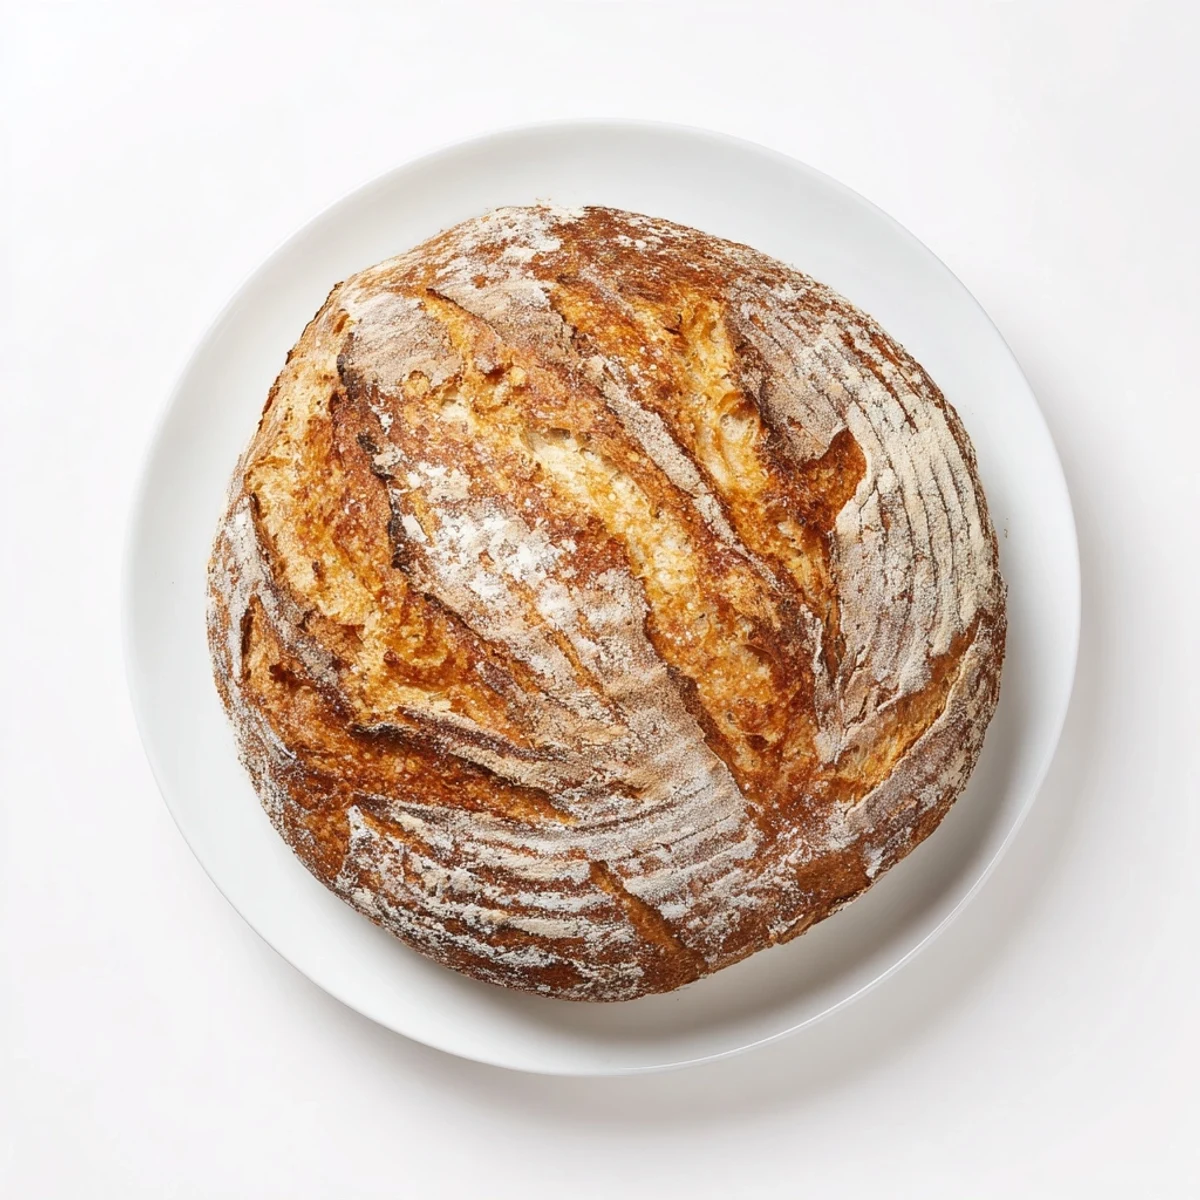
Save This no-knead method produces a stunning artisan loaf with professional bakery results. The dough develops overnight, creating deep flavor and characteristic air pockets. Baking in a preheated Dutch oven creates steam for that signature crackling crust. The exterior becomes deeply golden and crisp, while the interior stays tender and chewy with irregular holes.
Perfect for toast, sandwiches, or simply torn and shared with olive oil and sea salt. The long fermentation makes it easier to digest and enhances the wheat flavor. One loaf yields eight generous slices.
The first time I made no-knead bread, I stood in my kitchen at midnight, convinced I had ruined it. The dough looked like a shaggy, hopeless mess, nothing like the smooth elastic balls I had seen professional bakers create. But the next morning, after baking it in my preheated Dutch oven, that same clumsy dough emerged with a crust that sang when I cut into it. Now this is the only bread recipe I keep, because it proves that patience matters more than skill.
Last winter, during that week when everything felt overwhelming, I made three loaves in seven days. My roommate started coming home from work early, just to catch the moment when I would lift the lid off the Dutch oven. That golden, crackling sound became something we both needed, a small ritual that made the whole apartment feel warmer and safer.
Ingredients
- 3 cups all-purpose flour: I have used bread flour when I had it, but honestly, regular flour gives just as beautiful results
- 1 1/2 teaspoons salt: Do not reduce this amount because salt actually helps control the fermentation and keeps the dough from becoming too sticky
- 1/2 teaspoon instant yeast: Tiny amount of yeast works its magic slowly over those long hours, developing incredible flavor
- 1 1/2 cups lukewarm water: Use water that feels comfortable on your wrist, not hot or cold, because temperature affects how the yeast activates
Instructions
- Make the dough tonight:
- Dump flour, salt, and yeast into a large bowl and give it a quick stir before pouring in the water
- Mix until shaggy:
- Use a spatula or wooden spoon to combine everything until no dry flour remains, but do not overwork it because that shaggy texture is exactly what you want
- Walk away:
- Cover the bowl with plastic wrap or a clean towel, then leave it alone on your counter for 12 to 18 hours until the surface is dotted with bubbles and the dough has more than doubled
- Shape gently:
- Lightly flour your work surface, turn the dough out, and fold the edges toward the center a few times to create a rough ball
- Rest again:
- Place your dough on a piece of parchment paper, cover loosely with a towel, and let it rest for 30 to 45 minutes while you preheat the oven
- Get your oven ready:
- Put your Dutch oven or heavy lidded pot in the oven and crank the heat to 450°F, letting it get thoroughly hot for at least 30 minutes
- Bake covered:
- Carefully lift the parchment with the dough and lower it into the screaming hot pot, cover with the lid, and bake for 30 minutes
- Uncover and finish:
- Remove the lid and bake for another 10 to 15 minutes until the crust is a deep golden brown that makes a hollow sound when you tap it
- Cool completely:
- Let the bread rest on a wire rack for at least 30 minutes because cutting into hot bread will wreck the texture inside
 Save
Save My friend Sarah admitted she was intimidated by bread making until she watched me throw this together in literally five minutes before bed. Now she sends me photos of her weekend loaves, each one looking more impressive than the last, because this recipe turns anyone into a confident baker almost overnight.
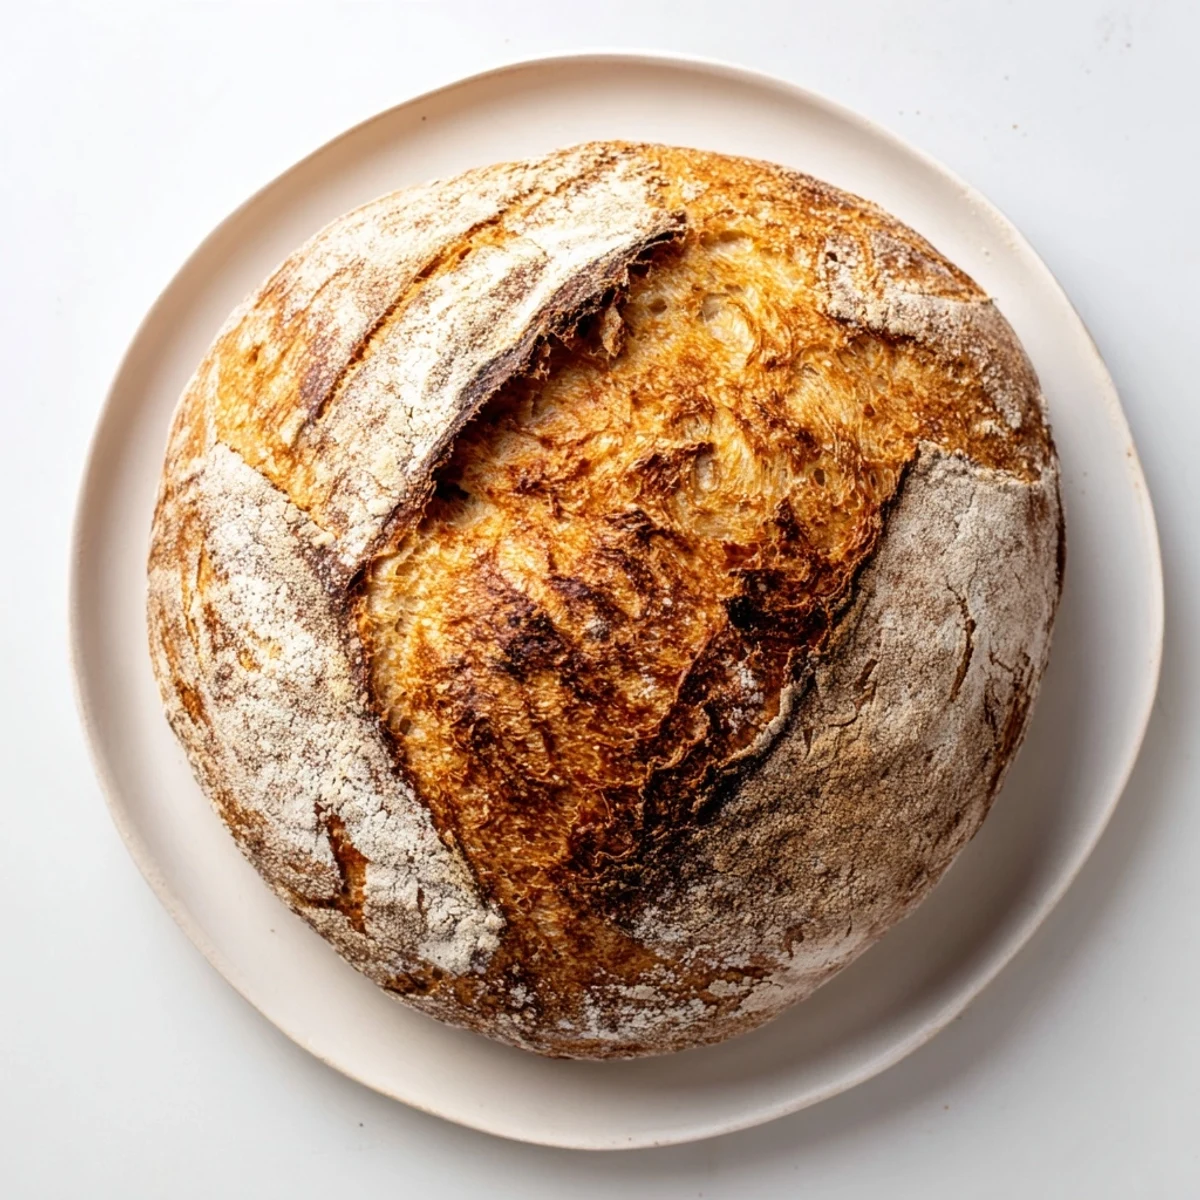
Getting The Crust Right
The secret is the combination of a preheated heavy pot and the initial covered baking period. This traps steam around the dough, allowing it to expand fully before the crust sets. When you remove the lid, that burst of dry heat creates the crackly, golden exterior that makes this bread so irresistible.
Customizing Your Loaf
Once you have mastered the basic recipe, try mixing in half a cup of chopped olives or fresh rosemary with the flour. My favorite variation adds roasted garlic cloves that get sweet and mellow during the long fermentation. Just be careful not to add too many extras, or the dough will not rise properly.
Making It Ahead
The dough actually benefits from a longer, slower fermentation in the refrigerator. Mix everything up, let it sit at room temperature for an hour, then refrigerate for up to 24 hours before shaping and baking. This extra time develops even more complex flavor, and the cold dough is easier to handle when you shape it.
- You can freeze the baked loaf, wrapped tightly, for up to a month
- Revive day-old bread by sprinkling it with water and reheating at 350°F for 10 minutes
- Never store bread in the refrigerator because it will stale faster than at room temperature
 Save
Save There is something deeply satisfying about making beautiful bread with your own hands, especially when it is this simple. I hope this recipe becomes a regular part of your kitchen rhythm, just like it has in mine.
Common Questions
- → Why does the dough need to rise for 12–18 hours?
-
The long fermentation allows natural enzymes to break down starches and proteins, developing complex flavor and improving texture. This slow rise creates the characteristic airy holes and chewy crumb of artisan breads while making it easier to digest.
- → Can I use whole wheat flour instead of all-purpose?
-
You can substitute up to half the all-purpose flour with whole wheat. The loaf will be denser and have a nuttier flavor. Add extra water since whole wheat absorbs more liquid. For best results, stick with the all-purpose or bread flour.
- → What if I don't have a Dutch oven?
-
A heavy cast iron pot with a tight-fitting lid works equally well. Alternatively, place a metal baking pan on the bottom oven rack while preheating, then pour ice cubes into it when you put the bread in to create steam.
- → How do I know when the bread is done baking?
-
The crust should be deep golden brown and sound hollow when tapped on the bottom. An instant thermometer inserted into the center should read 200–205°F. If the bottom looks pale, bake directly on the oven rack for 5 more minutes.
- → Can I freeze the dough or baked loaf?
-
Freeze the cooled, whole loaf wrapped tightly in plastic for up to 3 months. Thaw at room temperature, then refresh in a 350°F oven for 10 minutes to restore the crust. The dough can be refrigerated after the initial rise for up to 24 hours before baking.
- → Why is my crust not crackling?
-
Ensure your Dutch oven is fully preheated for at least 30 minutes. The pot needs to be very hot to create immediate steam when the dough goes in. Also, don't open the lid during the first 30 minutes of baking—this traps essential moisture.