 Save
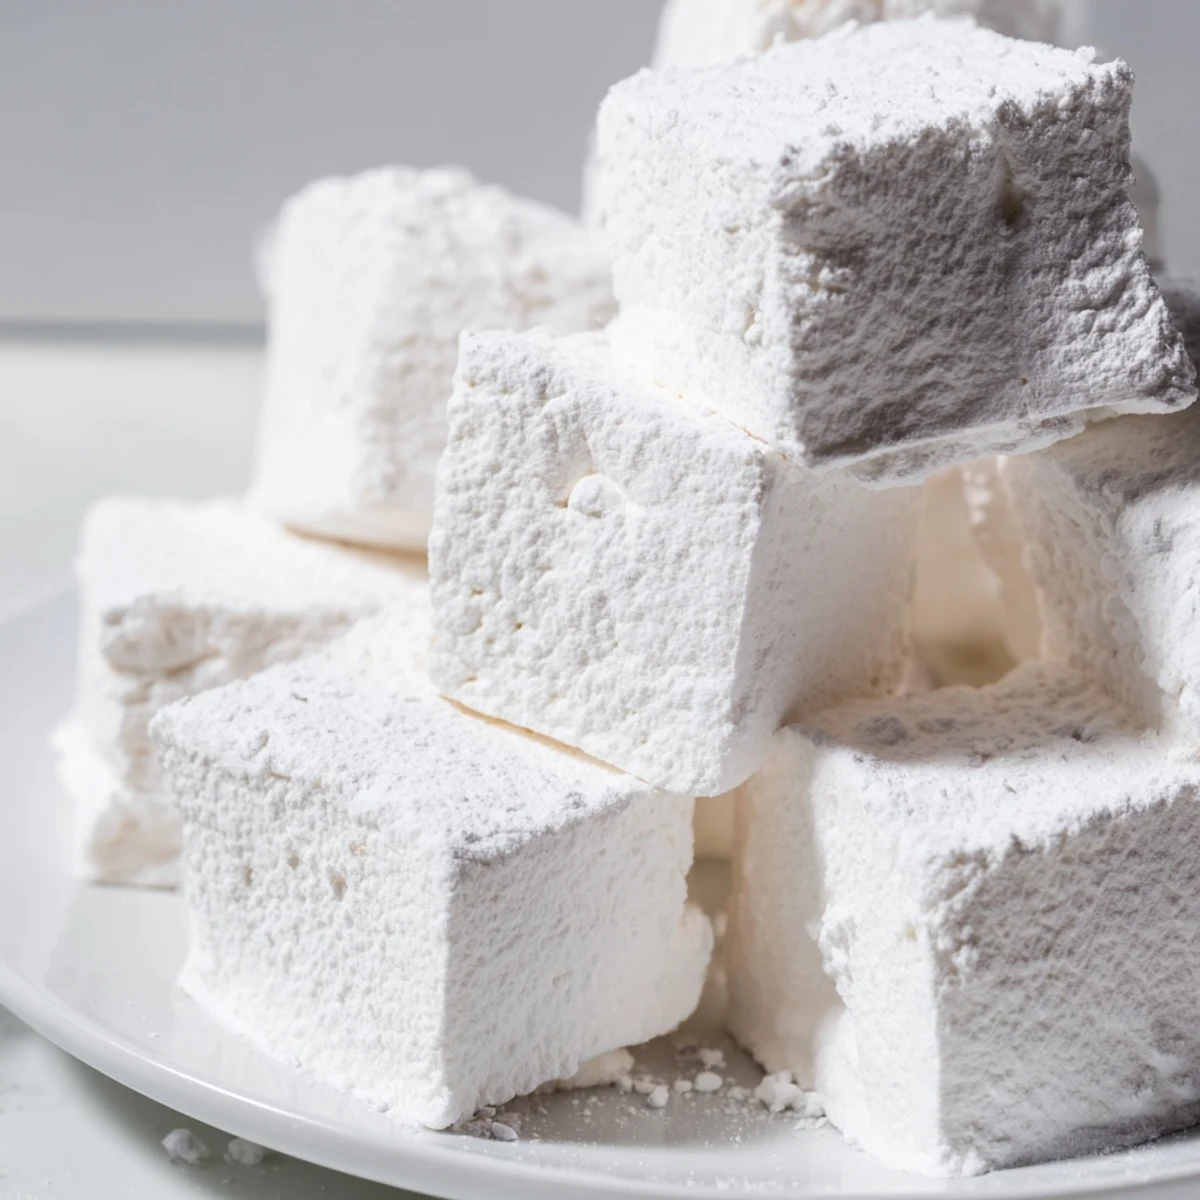
Save These soft fluffy homemade marshmallows transform simple sugar syrup and gelatin into pillowy squares of sweet perfection. The process involves blooming gelatin, cooking a precise sugar syrup to 240°F, then whipping the mixture until it triples in volume and becomes glossy and thick. After setting for several hours, you'll have about thirty-six one-inch squares that are infinitely better than store-bought versions. Customize with different extracts like peppermint or almond, add food coloring for festive occasions, or keep them classic with pure vanilla. The confectioners sugar and cornstarch coating prevents sticking while adding a delicate sweetness. Store in an airtight container for up to a week, though they rarely last that long once everyone discovers how delicious they are.
My daughter asked if we could make marshmallows after watching a cooking show, and I honestly thought it would be complicated. We turned on some music and measured everything into bowls, turning the kitchen into a sweet smelling laboratory. When that syrup hit the gelatin and started ballooning up in the mixer, both of us just stood there watching like it was magic. Now she asks to make them whenever friends sleep over, and I've learned that the process is half the fun.
Last winter, I brought a batch to a cookie exchange and people kept asking where I'd bought them. My neighbor now orders them for her hot cocoa bar every holiday party, and I've started experimenting with peppermint extract in December. There's something special about handing someone a bag of homemade marshmallows, like you're giving them a little piece of edible joy.
Ingredients
- Granulated sugar: The foundation of your syrup structure, measured precisely because sugar chemistry demands accuracy
- Light corn syrup: Prevents crystallization and keeps everything smooth and glossy, don't substitute this one
- Unflavored gelatin: The magic ingredient that transforms liquid sugar into fluffy clouds, let it bloom completely
- Pure vanilla extract: Use the real stuff here since you'll taste it prominently in every bite
- Confectioners sugar and cornstarch: This dusting mixture is absolutely essential for keeping them from becoming a sticky disaster
Instructions
- Prepare your pan and station:
- Mix equal parts confectioners sugar and cornstarch, then generously coat your greased 9x9 pan, saving plenty of the mixture for later dusting and cutting
- Bloom the gelatin:
- Combine gelatin with cold water in your stand mixer bowl and let it sit while you make the syrup, it will absorb the liquid and become firm
- Cook the sugar syrup:
- Combine sugar, corn syrup, water and salt in a saucepan, stir until dissolved, then bring to 240F without stirring, watching carefully as it approaches temperature
- Whisk into clouds:
- With mixer running on low, carefully stream in the hot syrup, then beat on high for 10 to 12 minutes until the mixture cools, thickens, and triples in volume
- Add vanilla and spread:
- Fold in vanilla during the last minute of mixing, then quickly scrape into your prepared pan using a greased spatula before it starts setting
- Wait patiently:
- Dust the top with more sugar mixture and let it sit uncovered for at least 4 hours, though overnight is even better for clean cutting
- Cut and coat:
- Turn the slab onto a cutting board, cut into squares with a knife or pizza cutter dusted in sugar mixture, then toss each piece until thoroughly coated
 Save
Save My friend's kids now request these for every camping trip because they roast beautifully over a fire, developing a crisp exterior while melting into gooey perfection inside. Something about homemade marshmallows makes s'mores feel like an entirely different experience, almost gourmet despite being so simple.
Flavor Variations
The vanilla version is classic, but I've discovered that swapping in peppermint extract creates the most incredible holiday marshmallows. Almond extract pairs beautifully with hot chocolate, and I've even experimented with coconut extract for tropical variations. Just add your extract during that final minute of mixing so it incorporates evenly without deflating all those air bubbles you worked so hard to create.
Storage Secrets
These stay fresh in an airtight container for about a week, though they rarely last that long in my house. I've learned not to stack them directly on top of each other without parchment paper in between, or they'll fuse together into one giant marshmallow blob. Room temperature is perfect, no need to refrigerate unless it's unusually warm and humid.
Kitchen Equipment Notes
A stand mixer makes this process exponentially easier, but I have made them with a hand mixer in a pinch. You'll need to be careful about splashing hot syrup, and the mixing time might take longer since hand motors overheat more easily. A candy thermometer is truly essential equipment rather than optional, so consider it an investment in your sweet making future.
- Clean your mixer bowl and whisk immediately after use, or you'll be scrubbing hardened marshmallow forever
- Keep a bowl of warm water nearby to dip your spatula in if the marshmallow starts sticking while spreading
- Save any leftover sugar cornstarch mixture in a sealed container for your next batch
 Save
Save There's something deeply satisfying about making something from scratch that most people only buy in plastic bags from the grocery store. Once you taste the difference, it's hard to go back to store bought.
Common Questions
- → How long do homemade marshmallows need to set?
-
Allow the marshmallow slab to set at room temperature for at least 4 hours, though overnight is preferable for the best texture. This ensures the interior fully sets and achieves that perfect fluffy consistency.
- → Can I make these without a stand mixer?
-
A stand mixer makes the process much easier since you need to whip the mixture for 10-12 minutes on high speed. A hand mixer can work but may overheat. Whisking by hand would be extremely difficult due to the lengthy whipping time required.
- → What temperature should the sugar syrup reach?
-
Heat your sugar syrup until it reaches exactly 240°F (115°C) on a candy thermometer. This temperature ensures proper structure—too low and marshmallows won't set, too high and they become tough and chewy.
- → How should I store homemade marshmallows?
-
Store in an airtight container at room temperature for up to one week. Layer between parchment paper and dust generously with the confectioners sugar and cornstarch mixture to prevent pieces from sticking together.
- → Can I make different flavors?
-
Absolutely. Replace the vanilla extract with other extracts like peppermint, almond, raspberry, or coconut. Add food coloring during the final minute of mixing for vibrant colored marshmallows perfect for holidays and special occasions.
- → Why do I need to let the gelatin bloom?
-
Blooming allows gelatin granules to absorb water and soften before combining with hot syrup. This step ensures smooth, even texture and prevents lumps. Let gelatin sit in cold water for about 10 minutes while preparing your sugar syrup.