 Save
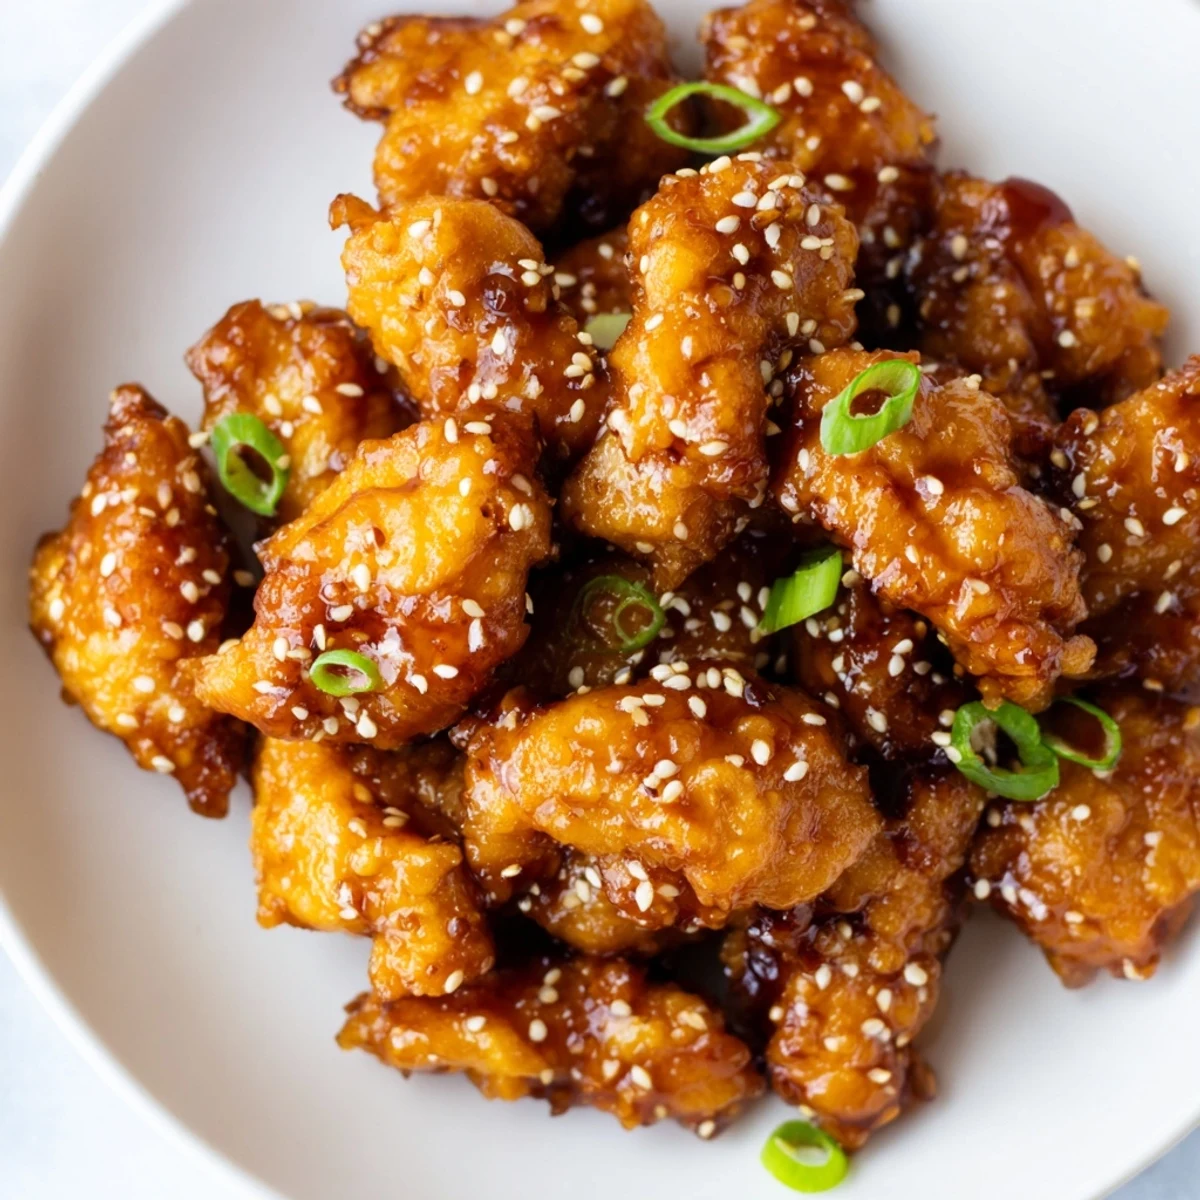
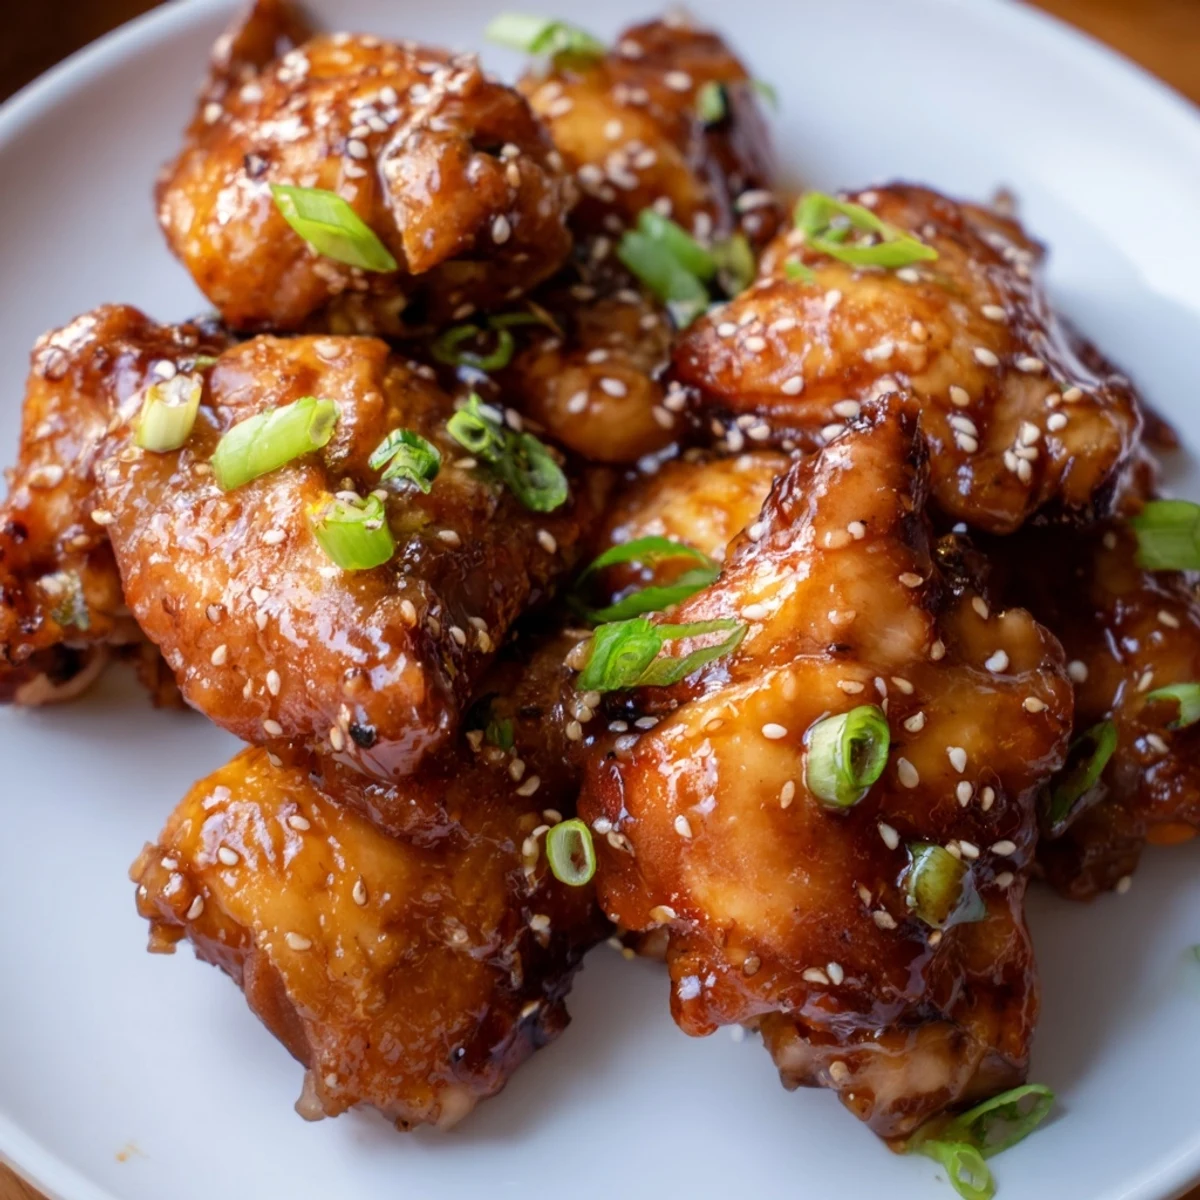
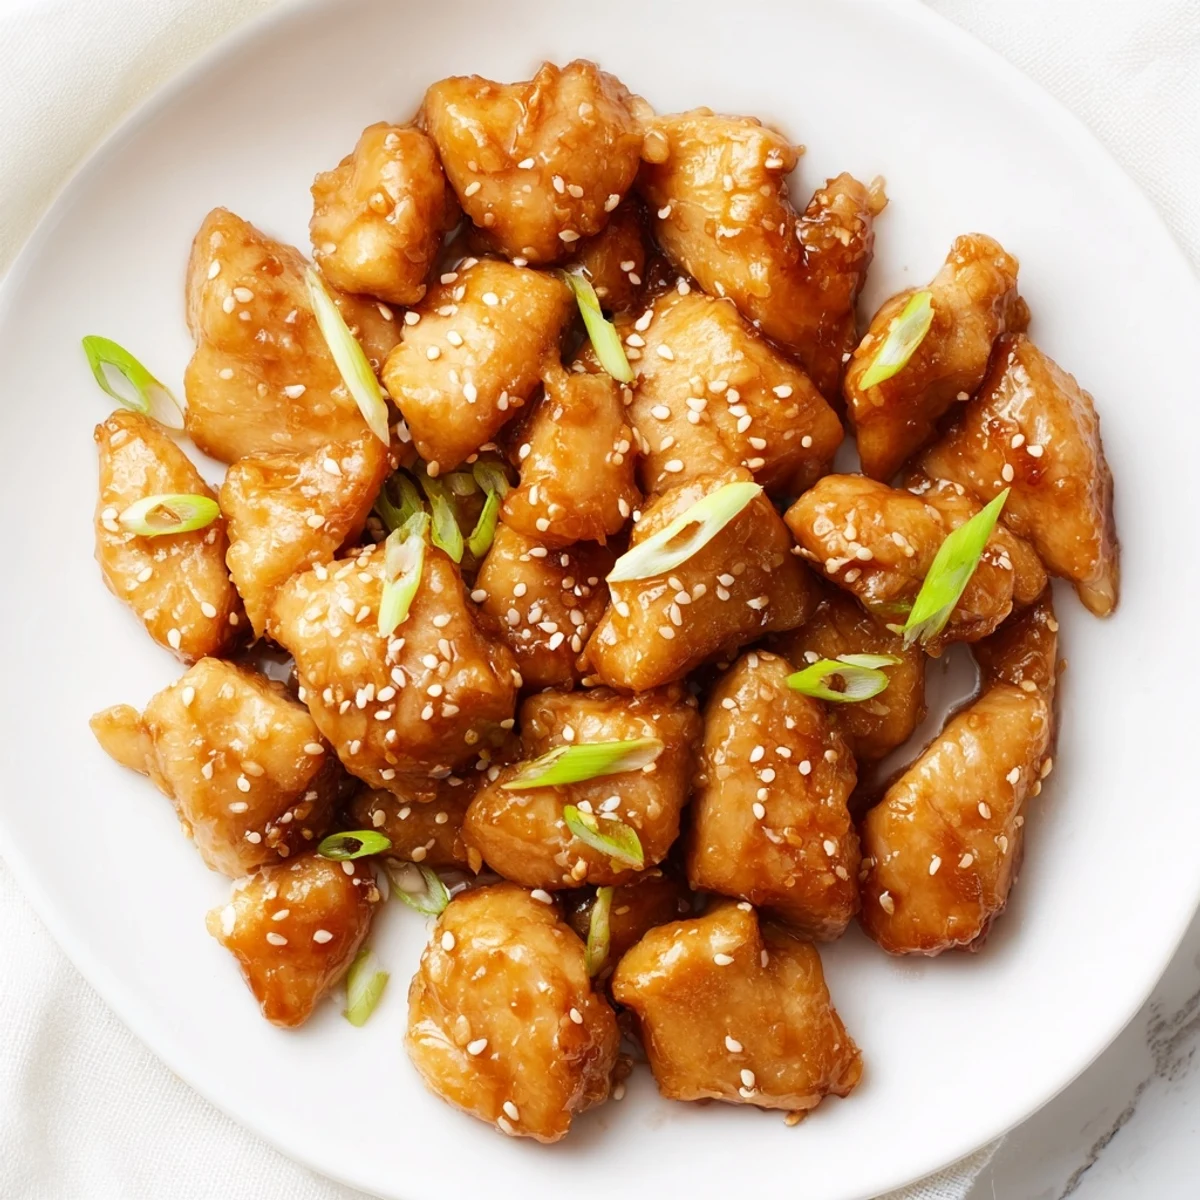
Save This Asian-inspired dish features tender chicken pieces pan-fried until golden, then coated in a sticky honey-soy glaze. The balance of sweet honey, savory soy sauce, and aromatic garlic creates a glossy coating that clings perfectly to each bite.
Ready in 35 minutes with simple ingredients, this dish comes together quickly for weeknight dinners. The sauce thickens beautifully as it simmers, creating that restaurant-quality sticky texture. Serve over steamed rice with sliced green onions and sesame seeds for a complete meal that's both impressive and easy to make.
The first time I made honey chicken, I stood over the stove watching the sauce bubble and transform into this impossibly glossy coating that clung to every piece of chicken. My kitchen filled with this intoxicating blend of sweet honey and savory garlic, making it impossible to wait for dinner to actually start. That night, we ended up eating standing up because nobody could wait another second for it to hit the plates.
Last Tuesday, my neighbor stopped by mid-simmer and literally stood in my doorway asking what smelled so good. I ended up sending her home with a small container, and she texted me before she even got back to her house saying her husband was already asking when I could make it again. Something about that honey-garlic combination just pulls people into the kitchen.
Ingredients
- Chicken: Thighs stay juicier than breasts through the high-heat cooking, but either works perfectly for this recipe
- Cornstarch: This creates that golden exterior and helps the sauce cling to every piece, so dont skip this coating step
- Honey: Pure honey gives the best glossy finish and deep caramel flavor, though maple syrup works in a pinch
- Soy sauce: Low-sodium keeps the salt levels in check since the sauce reduces down
- Rice vinegar: Adds just enough acid to cut through all that sweetness and balance the glaze
- Ketchup: Sounds odd, but it adds body and a subtle depth that makes the sauce feel restaurant-quality
- Garlic and ginger: Fresh minced and grated make all the difference here, so avoid the jarred stuff
- Chili flakes: Totally optional, but that tiny background heat makes the sweet pop even more
- Green onions and sesame seeds: These garnishes arent just pretty, they add freshness and nuttiness that the dish needs
Instructions
- Prep the chicken pieces:
- Pat the chicken really dry with paper towels, then toss it with salt, pepper, and cornstarch until every piece is evenly coated and feels slightly powdery to the touch.
- Mix your glaze:
- Whisk together honey, soy sauce, rice vinegar, ketchup, garlic, ginger, and chili flakes in a small bowl until completely smooth and set it near your stove.
- Sear to golden:
- Heat oil in a large skillet or wok over medium-high heat until shimmering, add chicken in a single layer, and cook 5 to 7 minutes until golden and cooked through, turning only occasionally.
- Create the sticky coating:
- Pour that sauce over the chicken, stir to coat everything, then let it simmer 5 to 7 minutes while stirring often until the sauce thickens into something gloriously sticky.
- Finish and serve:
- Remove from heat immediately, sprinkle with green onions and sesame seeds, and get it to the table while that glaze is still impossibly tacky and coating every single piece.
 Save
Save This recipe became my daughters most requested birthday dinner after she tried it at a friends house and came home raving about the chicken that tasted like candy but for dinner. Now, making it feels like celebrating something, even when its just a random Tuesday and were eating on the couch watching movies.
Getting That Perfect Texture
Ive learned that crowding the pan makes the chicken steam instead of sear, so if your skillet looks too full, just cook in two batches. That golden crust is what makes the final dish feel special, not like something thrown together in a rush. Also, letting the coated chicken sit for about 5 minutes before cooking helps the cornstarch really adhere and create that crunch everyone loves.
Sauce Secrets
That magical glossy finish happens because the honey caramelizes and the cornstarch from the chicken thickens everything naturally. If your sauce looks too thin, just let it go another minute or two, but seriously, do not walk away because honey crosses the line from perfect to burned incredibly fast. Some nights I add a splash of water if its reducing too quickly, better to control the thickness than end up with candy-coated chicken.
Make It Your Own
After making this probably fifty times, I have some thoughts on variations that actually work without breaking the recipe. Sometimes the best discoveries happen when you are missing one ingredient but too hungry to go to the store.
- Substitute maple syrup for honey if you want a slightly different sweetness profile that still works beautifully
- Add bell peppers or broccoli during the last 3 minutes of cooking if you need to sneak in vegetables
- Double the garlic and ginger if you love that aromatic punch, because more is always welcome here
 Save
Save Theres something so satisfying about a recipe that delivers restaurant results with zero fuss and ingredients you probably already have in your pantry. Hope this becomes one of those recipes you can make without even thinking about it, the one everyone asks for when they come over.
Common Questions
- → How do I get the sauce really sticky?
-
Let the sauce simmer uncovered after adding it to the chicken. The liquid evaporates while the honey caramelizes, naturally thickening into that glossy, sticky consistency. Stir frequently to prevent burning.
- → Can I use chicken breasts instead of thighs?
-
Yes, boneless chicken breasts work well. Cut them into uniform pieces so they cook evenly. Breasts may cook slightly faster than thighs, so check for doneness after 5 minutes of frying.
- → What can I serve with this honey chicken?
-
Steamed jasmine rice is classic, but it also pairs beautifully with noodles, quinoa, or cauliflower rice for a lighter option. Add steamed broccoli or stir-fried vegetables on the side for a complete meal.
- → Is this dish spicy?
-
The base version is mild with just a hint of heat from the optional chili flakes. Adjust the spice level by adding more chili flakes or a drizzle of sriracha if you prefer it hotter.
- → Can I make this ahead of time?
-
The sauce can be mixed up to 2 days ahead and stored in the refrigerator. For best results, cook the chicken fresh, as the coating stays crispy and the texture is optimal when served immediately after glazing.
- → How do I store leftovers?
-
Store cooled chicken in an airtight container in the refrigerator for up to 3 days. Reheat gently in a skillet over medium heat, adding a splash of water if the sauce has thickened too much. The microwave works too but may soften the coating.