Save
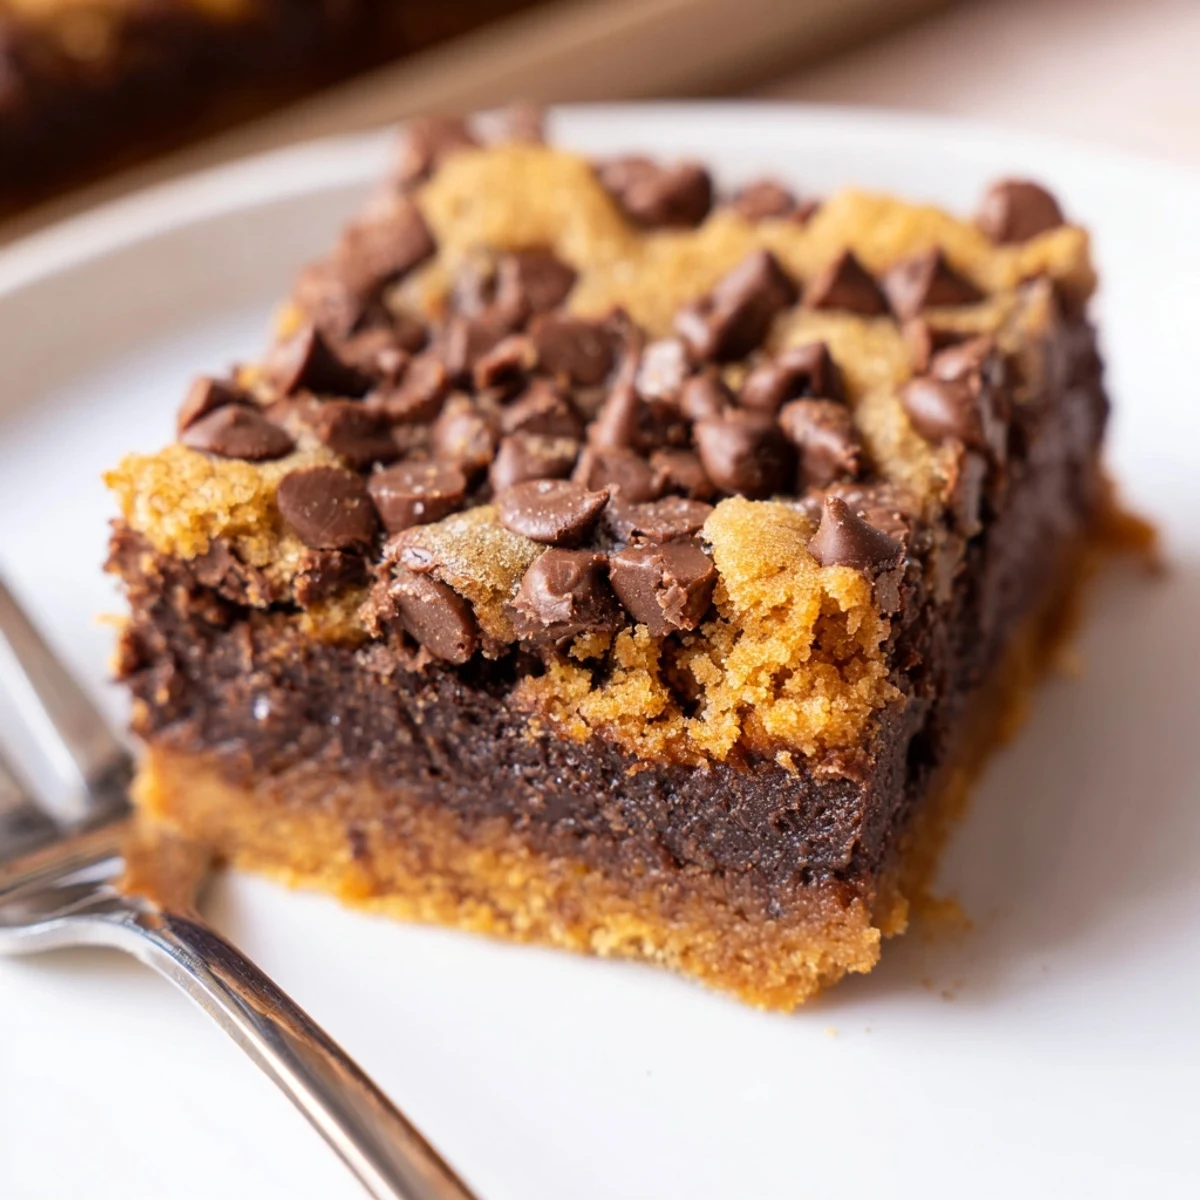
Save Start by whisking melted butter with sugar and eggs until smooth, then fold in flour and cocoa to form a thick brownie batter and spread it into an 8-inch (20 cm) pan lined with parchment. In a separate bowl, cream softened butter with brown and granulated sugar, mix in egg and vanilla, then stir in flour, baking soda and chocolate chips. Drop spoonfuls of cookie dough across the surface, gently spread so the brownie peeks through, and bake at 175°C (350°F) for 28–33 minutes until the cookie top is golden and a toothpick shows a few moist crumbs.
Cool fully in the pan before lifting and slicing. For gooier brookies, pull a touch early and chill briefly; serve warm with ice cream or fold in nuts or different chips for variation.
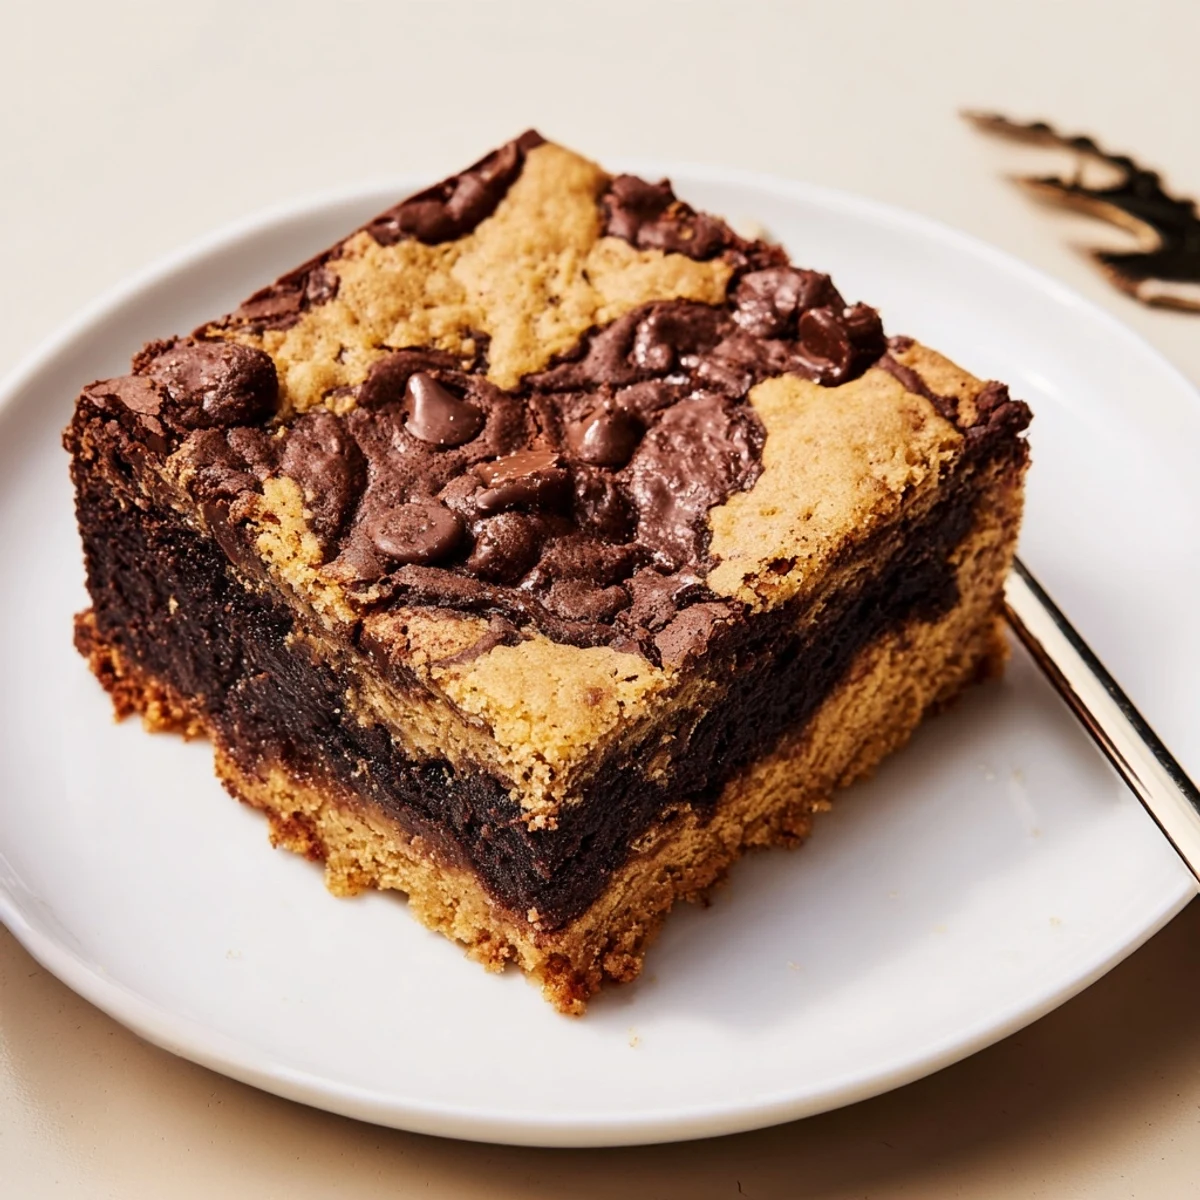
The rain was hammering against the kitchen window the afternoon I stumbled into brookies, mostly because two bowls of leftover batter were staring me down and refusing to be ignored. I layered them into the same pan out of stubbornness, and what came out of the oven thirty minutes later was something I had not expected: a dense, fudgy brownie base wearing a chewy, golden cookie hat, still warm and begging for a glass of milk.
I brought a tray of these to a potluck once and watched three adults quietly abandon conversation to go back for seconds without making eye contact. That sealed it for me.
Ingredients
- Unsalted butter (115 g, melted for brownie layer and 115 g, softened for cookie layer): Using butter in both layers creates richness, but melting versus softening completely changes the texture, so follow each instruction carefully.
- Granulated sugar (200 g for brownie, 50 g for cookie): The higher ratio in the brownie layer keeps it dense and fudgy rather than cakey.
- Brown sugar (100 g, packed, for cookie layer): This is what gives the cookie top its chew and a subtle caramel warmth.
- Eggs (2 large for brownie, 1 large for cookie): Room temperature eggs blend more smoothly, which matters especially in the brownie batter where you want everything emulsified.
- Vanilla extract (1 tsp per layer): Do not skip this in either layer, as it rounds out the chocolate and adds depth you will notice if it is missing.
- All purpose flour (65 g for brownie, 150 g for cookie): Less flour in the brownie keeps it dense, while the cookie layer needs enough structure to hold those chocolate chips aloft.
- Unsweetened cocoa powder (30 g): Use a good quality cocoa here because it is the soul of the brownie layer and a flat cocoa will show.
- Salt (1/4 tsp for brownie, 1/2 tsp for cookie): Salt sharpens chocolate and balances sugar, so measure it even if you think you can skip it.
- Baking soda (1/2 tsp, for cookie layer only): A tiny lift for the cookie top so it does not turn into a dense mat.
- Chocolate chips (110 g): Semi sweet is classic, but dark chocolate chips are wonderful if you want a slightly more grown up flavor.
Instructions
- Preheat and prep the pan:
- Set your oven to 175 degrees C (350 degrees F) and line a 20x20 cm baking pan with parchment, leaving the edges hanging over like handles. This small step saves you from wrestling a stuck brookie out of a pan later, which I have done and do not recommend.
- Build the brownie layer:
- Whisk melted butter and granulated sugar together in a bowl until glossy, then beat in the eggs and vanilla until the mixture looks smooth and slightly thickened. Fold in the flour, cocoa powder, and salt gently, stopping when you see the last streak of flour disappear, then spread this dark, glossy batter evenly across the bottom of your lined pan.
- Make the cookie dough:
- Beat the softened butter with both sugars until the mixture looks creamy and lighter in color, then mix in the egg and vanilla until fully incorporated. Add the flour, baking soda, and salt in stages, stirring just until combined, then fold in the chocolate chips with a spatula, resisting the urge to overmix.
- Layer it up:
- Drop rough spoonfuls of cookie dough across the surface of the brownie batter and use a spatula to nudge them into a mostly even layer. It is perfectly fine if some brownie peeks through, because those patches turn into the best chewy edges.
- Bake with patience:
- Slide the pan into the center rack and bake for 28 to 33 minutes, looking for a golden cookie top and a toothpick that comes out with a few moist crumbs clinging to it. Pull them a minute early rather than late, because brookies set as they cool and nobody likes a dry one.
- Cool completely before slicing:
- Let the pan sit at room temperature until fully cool, which tests every ounce of restraint you have, then lift the whole slab out using the parchment overhang and cut into 16 bars with a sharp knife.
 Save
Save One Sunday my niece walked into the kitchen while I was cutting a batch and announced she wanted brookies instead of a birthday cake that year, and I realized this odd little mashup had officially become a family thing.
Getting the Layers Right
The brownie batter should be loose and pourable, almost like a thick syrup, while the cookie dough is stiff enough to hold its shape when you drop it in spoonfuls. If your brownie batter seems too thick, it usually means the butter was not quite warm enough or the flour was packed too tightly into the measuring cup. I learned to spoon and level the flour instead of scooping directly from the bag, and it made a real difference in how the bottom layer baked up.
Fun Ways to Switch Things Up
Swapping the chocolate chips for butterscotch or white chocolate chips changes the whole personality of the cookie layer in a really fun way. Fold chopped walnuts or pecans into the brownie batter if you want a little crunch running through the fudgy base. A friend once pressed a layer of caramel sauce between the two batters and called it a triple threat, which was excessive and absolutely delicious.
Serving and Storing
These bars keep beautifully at room temperature in an airtight container for up to four days, though they rarely last that long in my house. A quick ten second zap in the microwave brings back that just baked warmth and makes the chocolate chips gooey all over again.
- Freeze individually wrapped bars for up to three months and thaw at room temperature when a craving hits.
- Serve a warm brookie with a scoop of vanilla bean ice cream if you want to make someone genuinely happy.
- Always store them separated by parchment squares so they do not stick together into one giant lump.
 Save
Save Brookies are proof that sometimes the best thing in the kitchen comes from refusing to choose, and I hope they become your go to when the rainy day baking urge strikes.
Common Questions
- → How do I keep the brownie layer fudgy?
-
Use the specified butter-to-flour ratio, avoid overmixing once the flour is added, and remove from the oven while the center still has a few moist crumbs. Cooling in the pan helps the center set without drying out.
- → What yields a chewy cookie top?
-
Cream the butter with both brown and granulated sugar until just combined, which boosts chewiness. Do not overbake the cookie layer; aim for a golden top with moist crumbs at the center.
- → Can I swap chocolate chips or add nuts?
-
Yes. Use butterscotch, white chocolate, or chopped nuts for variation. Toast nuts lightly to deepen flavor and fold them into the cookie dough before topping the brownie batter.
- → How can I test for doneness?
-
Insert a toothpick into the center: a few moist crumbs mean the bars are done. A completely clean toothpick indicates overbaking; a wet batter means they need more time. Check near the center for accuracy.
- → How should I store and reheat these bars?
-
Store cooled bars in an airtight container at room temperature up to 3 days or refrigerate up to a week. Reheat briefly in a low oven or microwave a few seconds to revive gooeyness; add a scoop of ice cream when serving warm.
- → Can I make these ahead or freeze them?
-
Yes. Fully cool and wrap slices individually, then freeze up to 2 months. Thaw at room temperature or warm gently in the oven before serving for best texture.